How to Create Textured Art with Acrylic Paint
In this tutorial, you’ll learn one of my favorite textured acrylic painting techniques - no special art materials required. All you need is acrylic paint and a paintbrush! If you want to learn how to create textured canvas art at home, this tutorial is for you.
Creating texture in a painting makes it feel truly unique. It gives your artwork that hand-painted look and instantly takes it to the next level. So let’s dive in so you can learn to create a textured acrylic painting of your own!
P.S. This is just one of the many abstract painting techniques that I teach in my class, Mesmerizing Metallics - Modern Gold Leafing Techniques with Acrylic Paint. You can check out the class for free when you sign up for a free trial with Skillshare!
Plan your composition
Start by deciding what kind of composition you’d like to create with your textured acrylic painting. In my example, I’ll be creating textured lines to make an abstract tribal pattern. But your options are endless! We’ll be etching our textured painting into a thick layer of paint, so think through what you might want to create.
Explore different line types and when you’ve decided on a composition you can lightly sketch it onto your paper or canvas.

If you have an old comb or scraping tool lying around, you can play with creating uniform wave textures like this!
Once you have your composition planned out it’s time to move on to the next step!
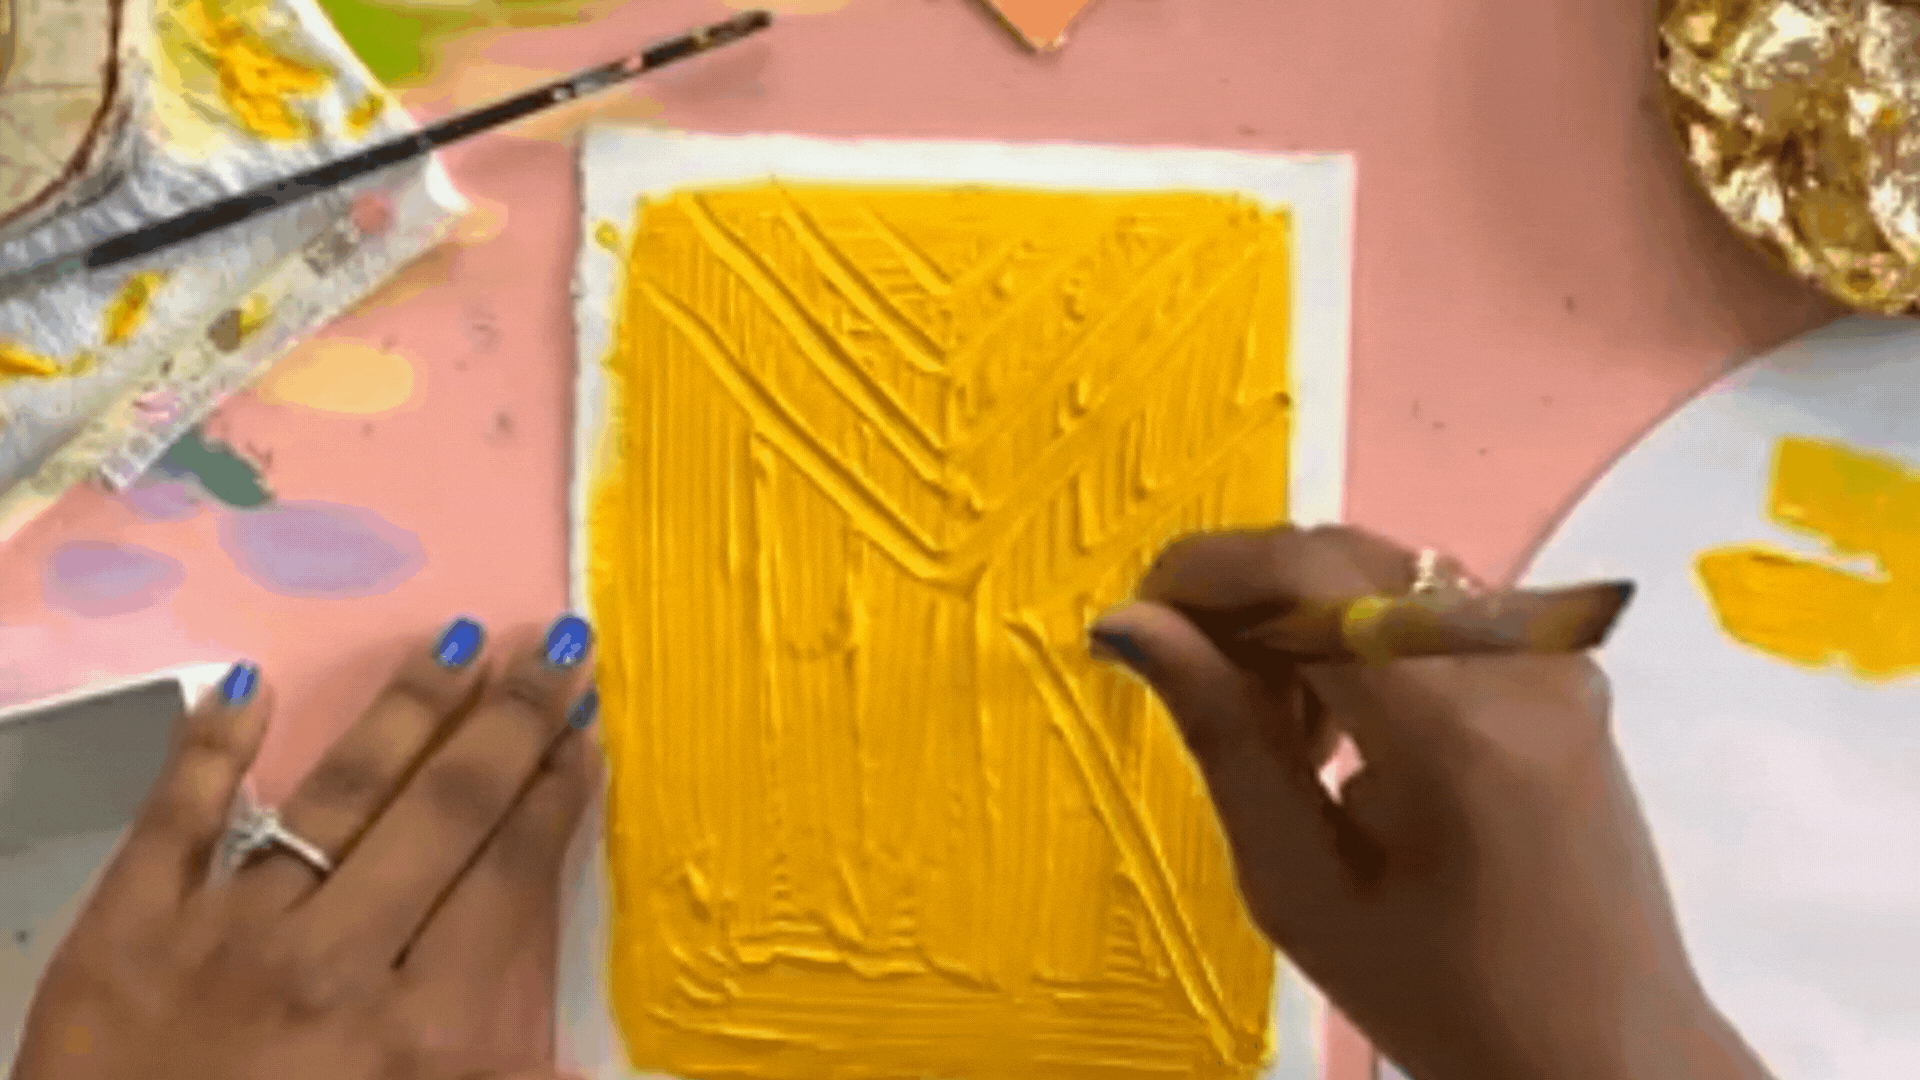
Cover the canvas with a thick layer of paint
Gather your heavy-body acrylic paint and a small and medium-sized paintbrush. We’ll start by creating a thick layer of paint on the paper or canvas.
This will be the base for us to etch in our texture. It doesn’t matter what color you use here. You can paint over it and add more details later! I’m using yellow since it’s transparent enough for me to see my design through the thick layer of paint. Add a good amount of paint directly to your painting surface.

Then start to brush it out to create an even layer across the canvas. It’s ok if your brush leaves some texture. Remember, we’re going for a textured look, and every bump and line in your piece will give it that much more character!
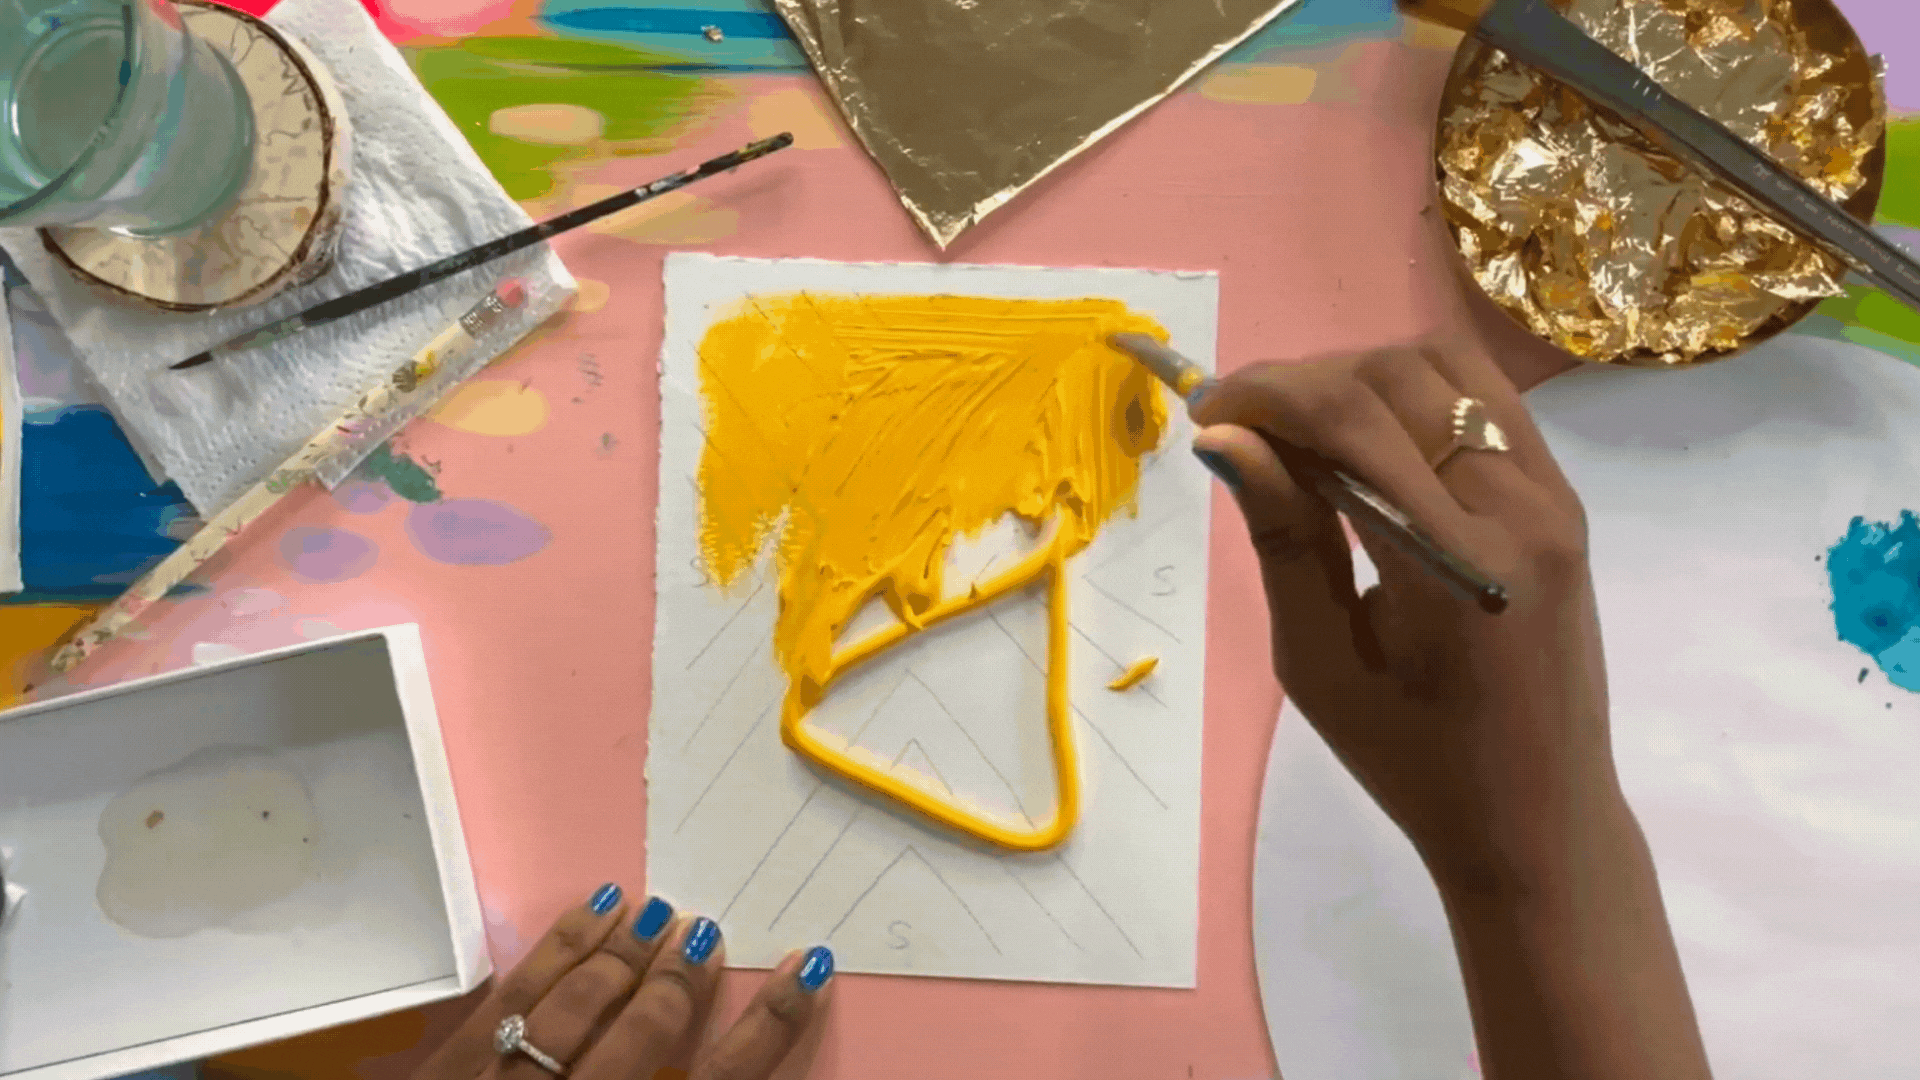
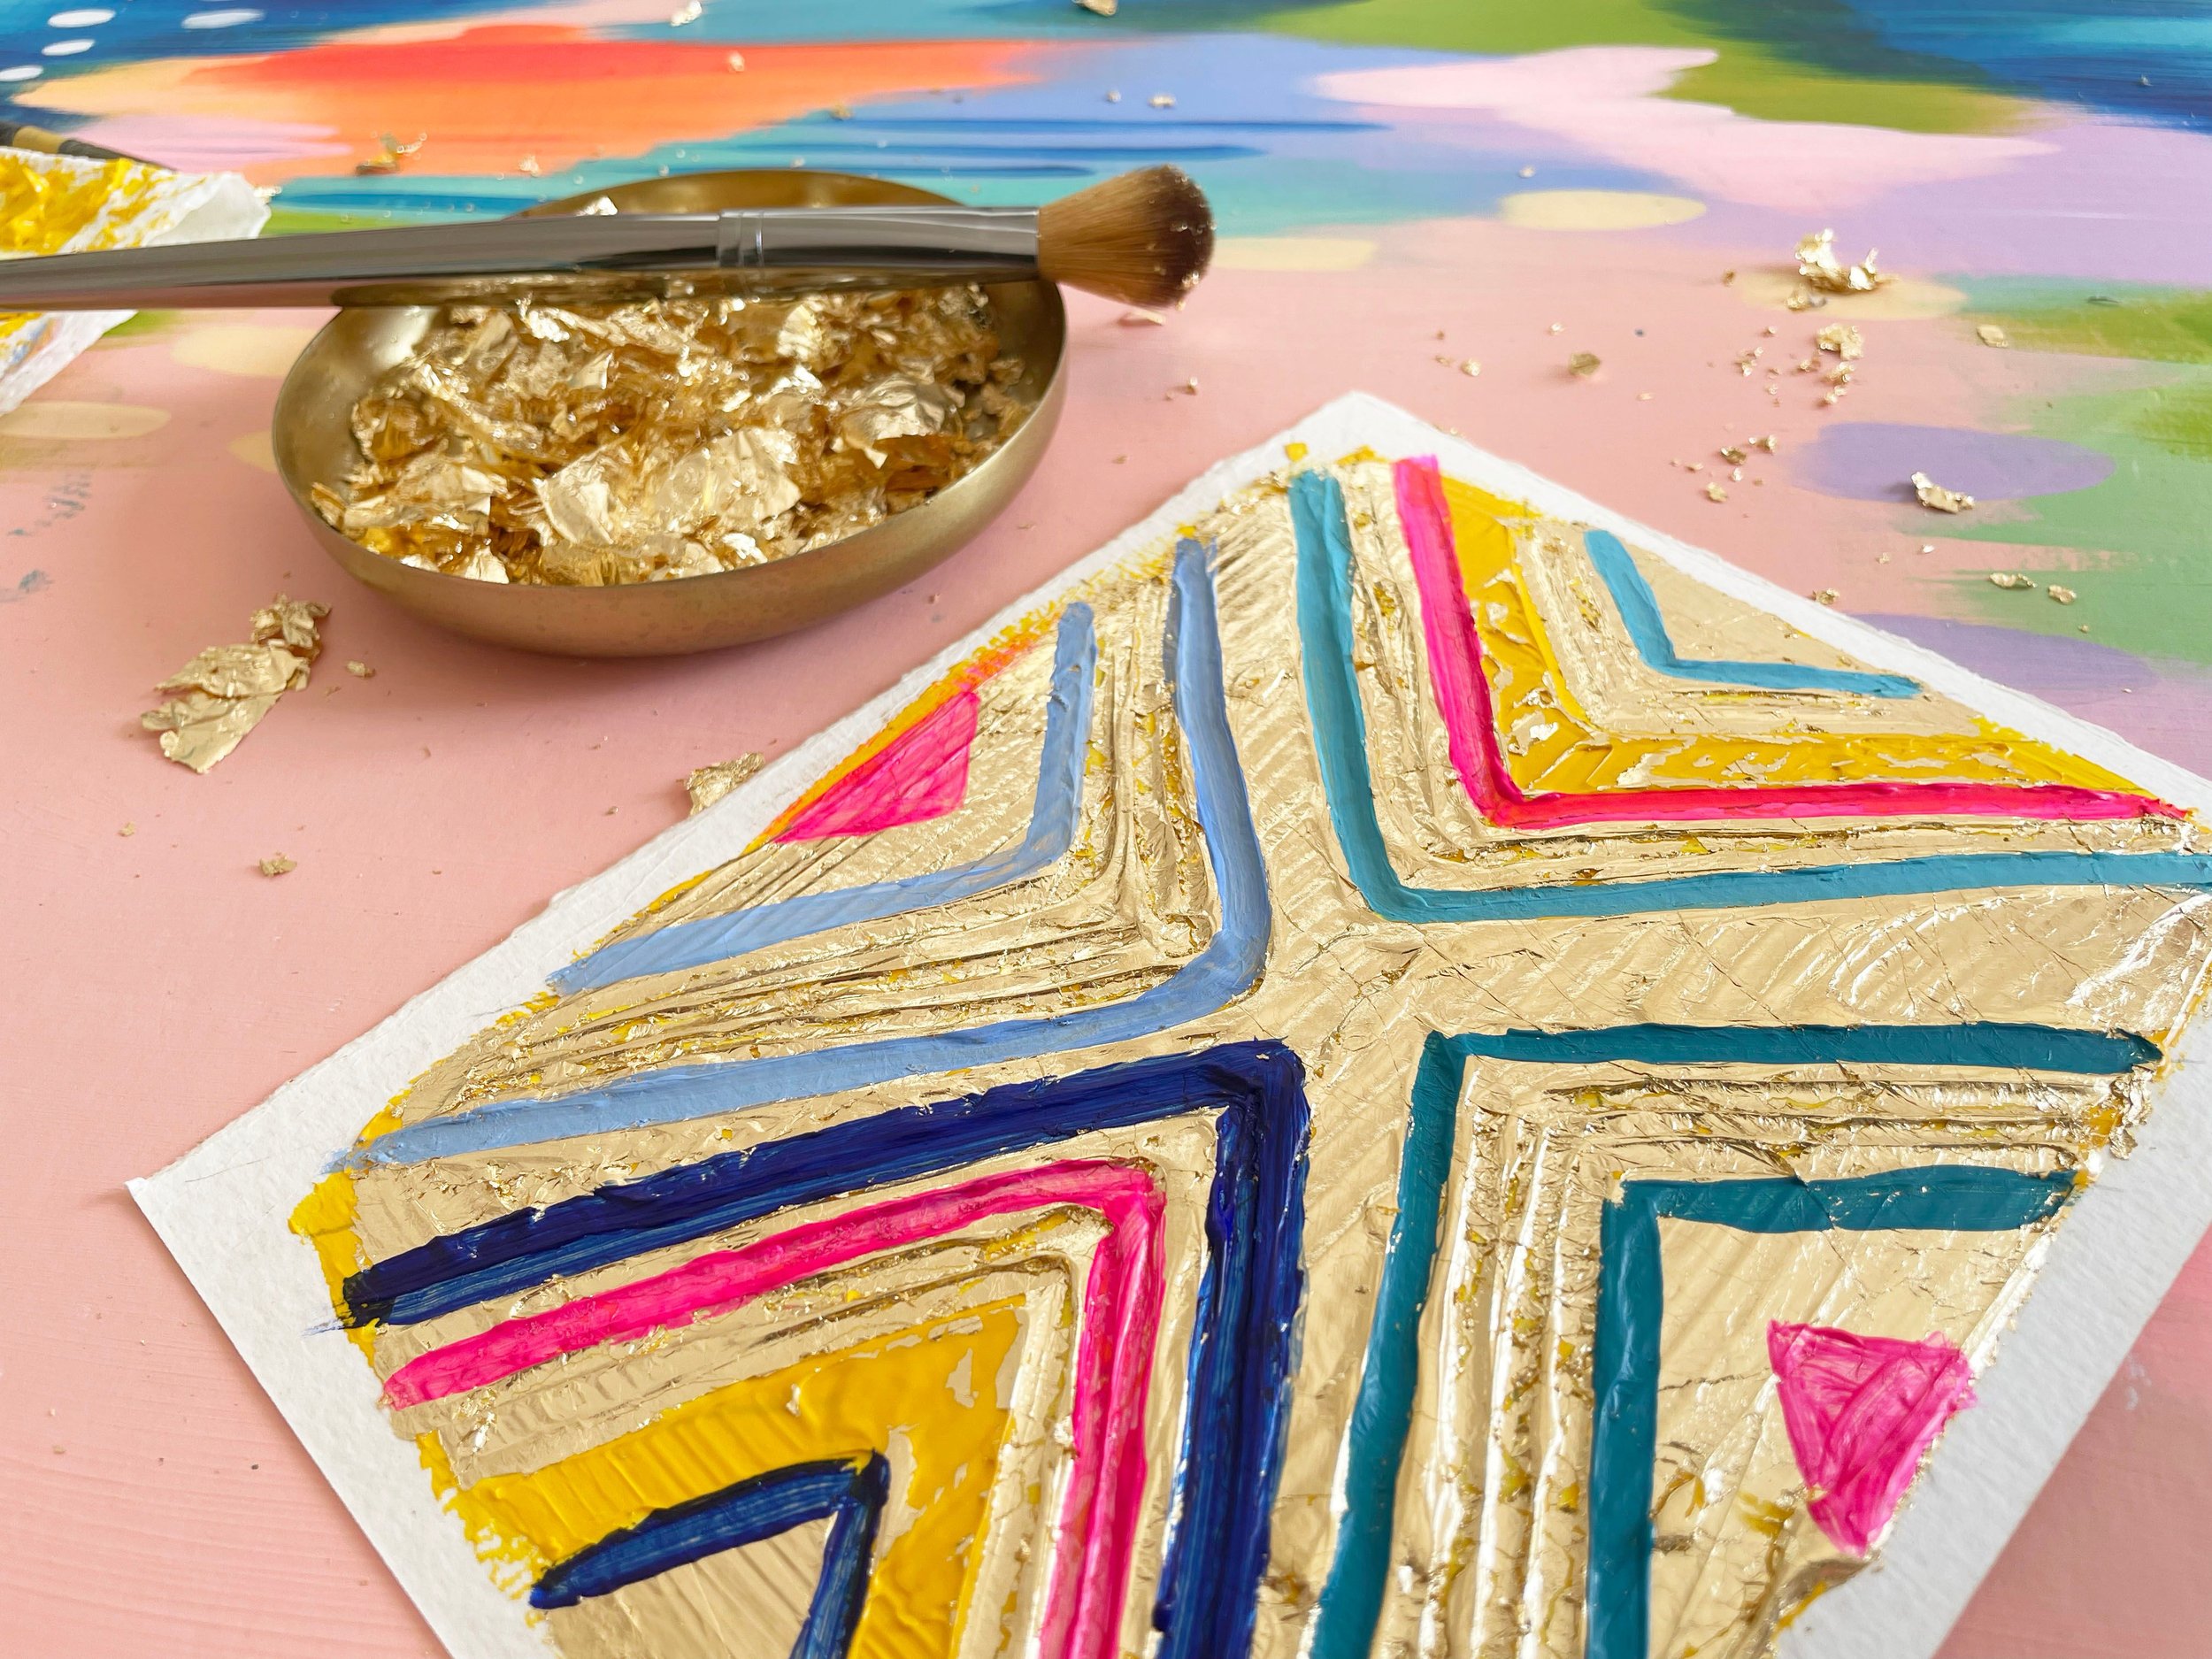
Etch in your design
Now it’s time to etch in your design! Take the back of your paintbrush, and start to scrape through your thick layer of paint to create the composition you planned out in the first step.
Remove any excess paint between etchings to make sure you get a clean line each time.
If you’d like, you can switch to using the back of a smaller brush to create more detail in your painting.
Dry it with a hair dryer
If you plan to paint on top of your textured design, it’s important to make sure it’s completely dry! I use a hair dryer to speed up my drying process. For this small painting, it took about 5 minutes using the hair dryer before it was completely dry.
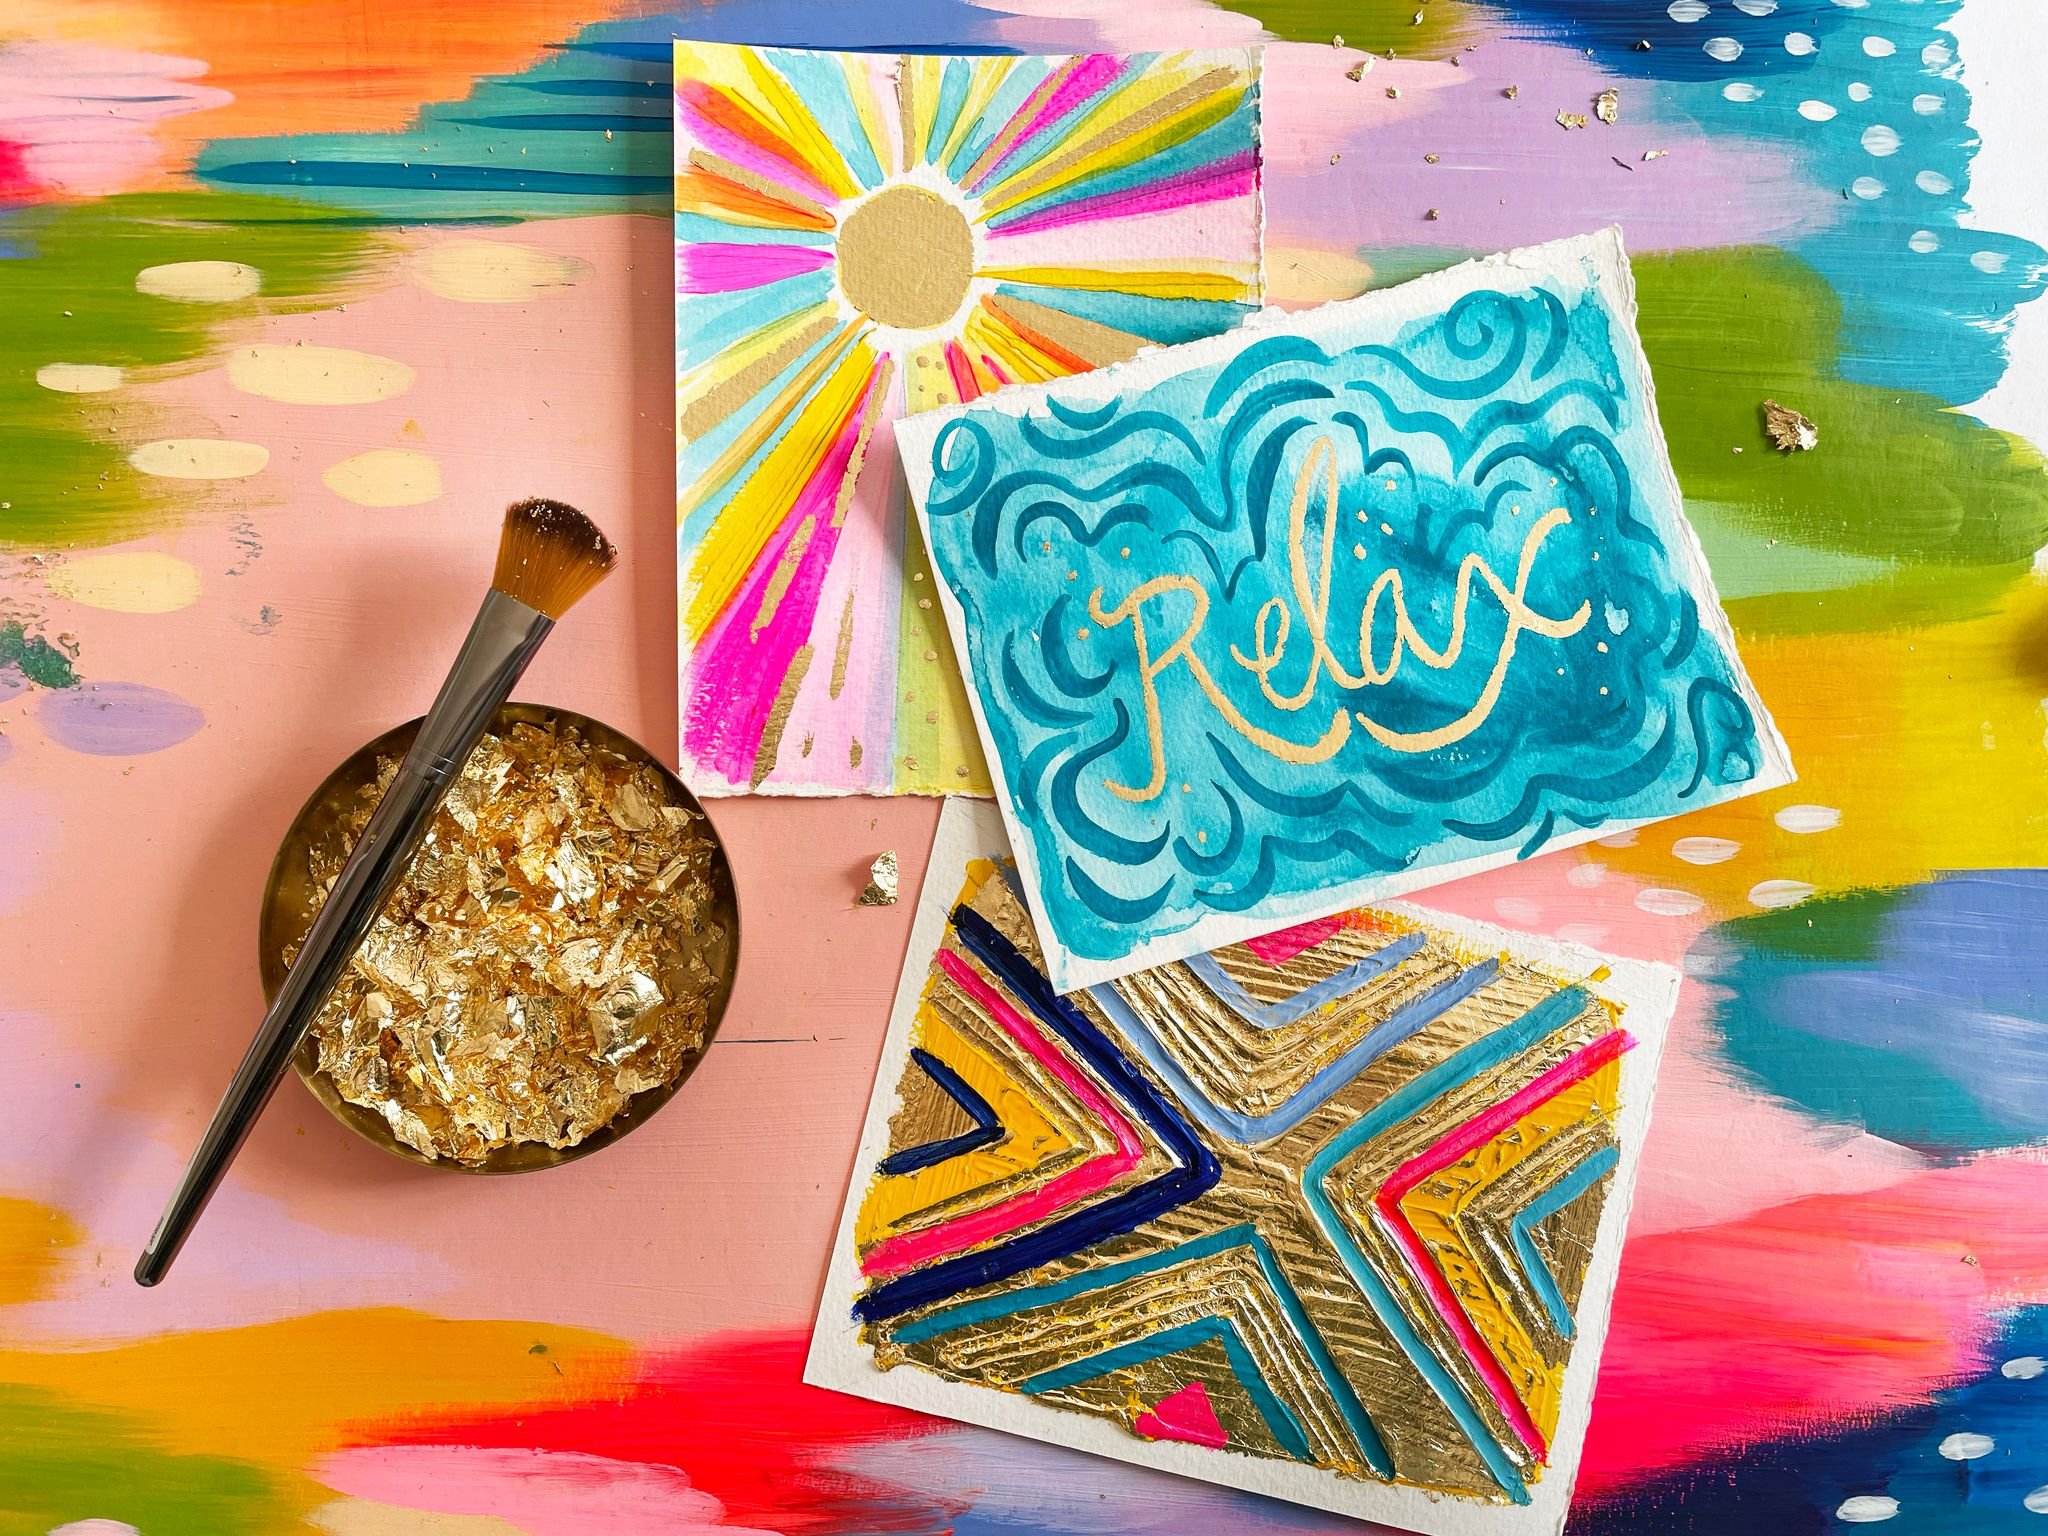
Add any additional details
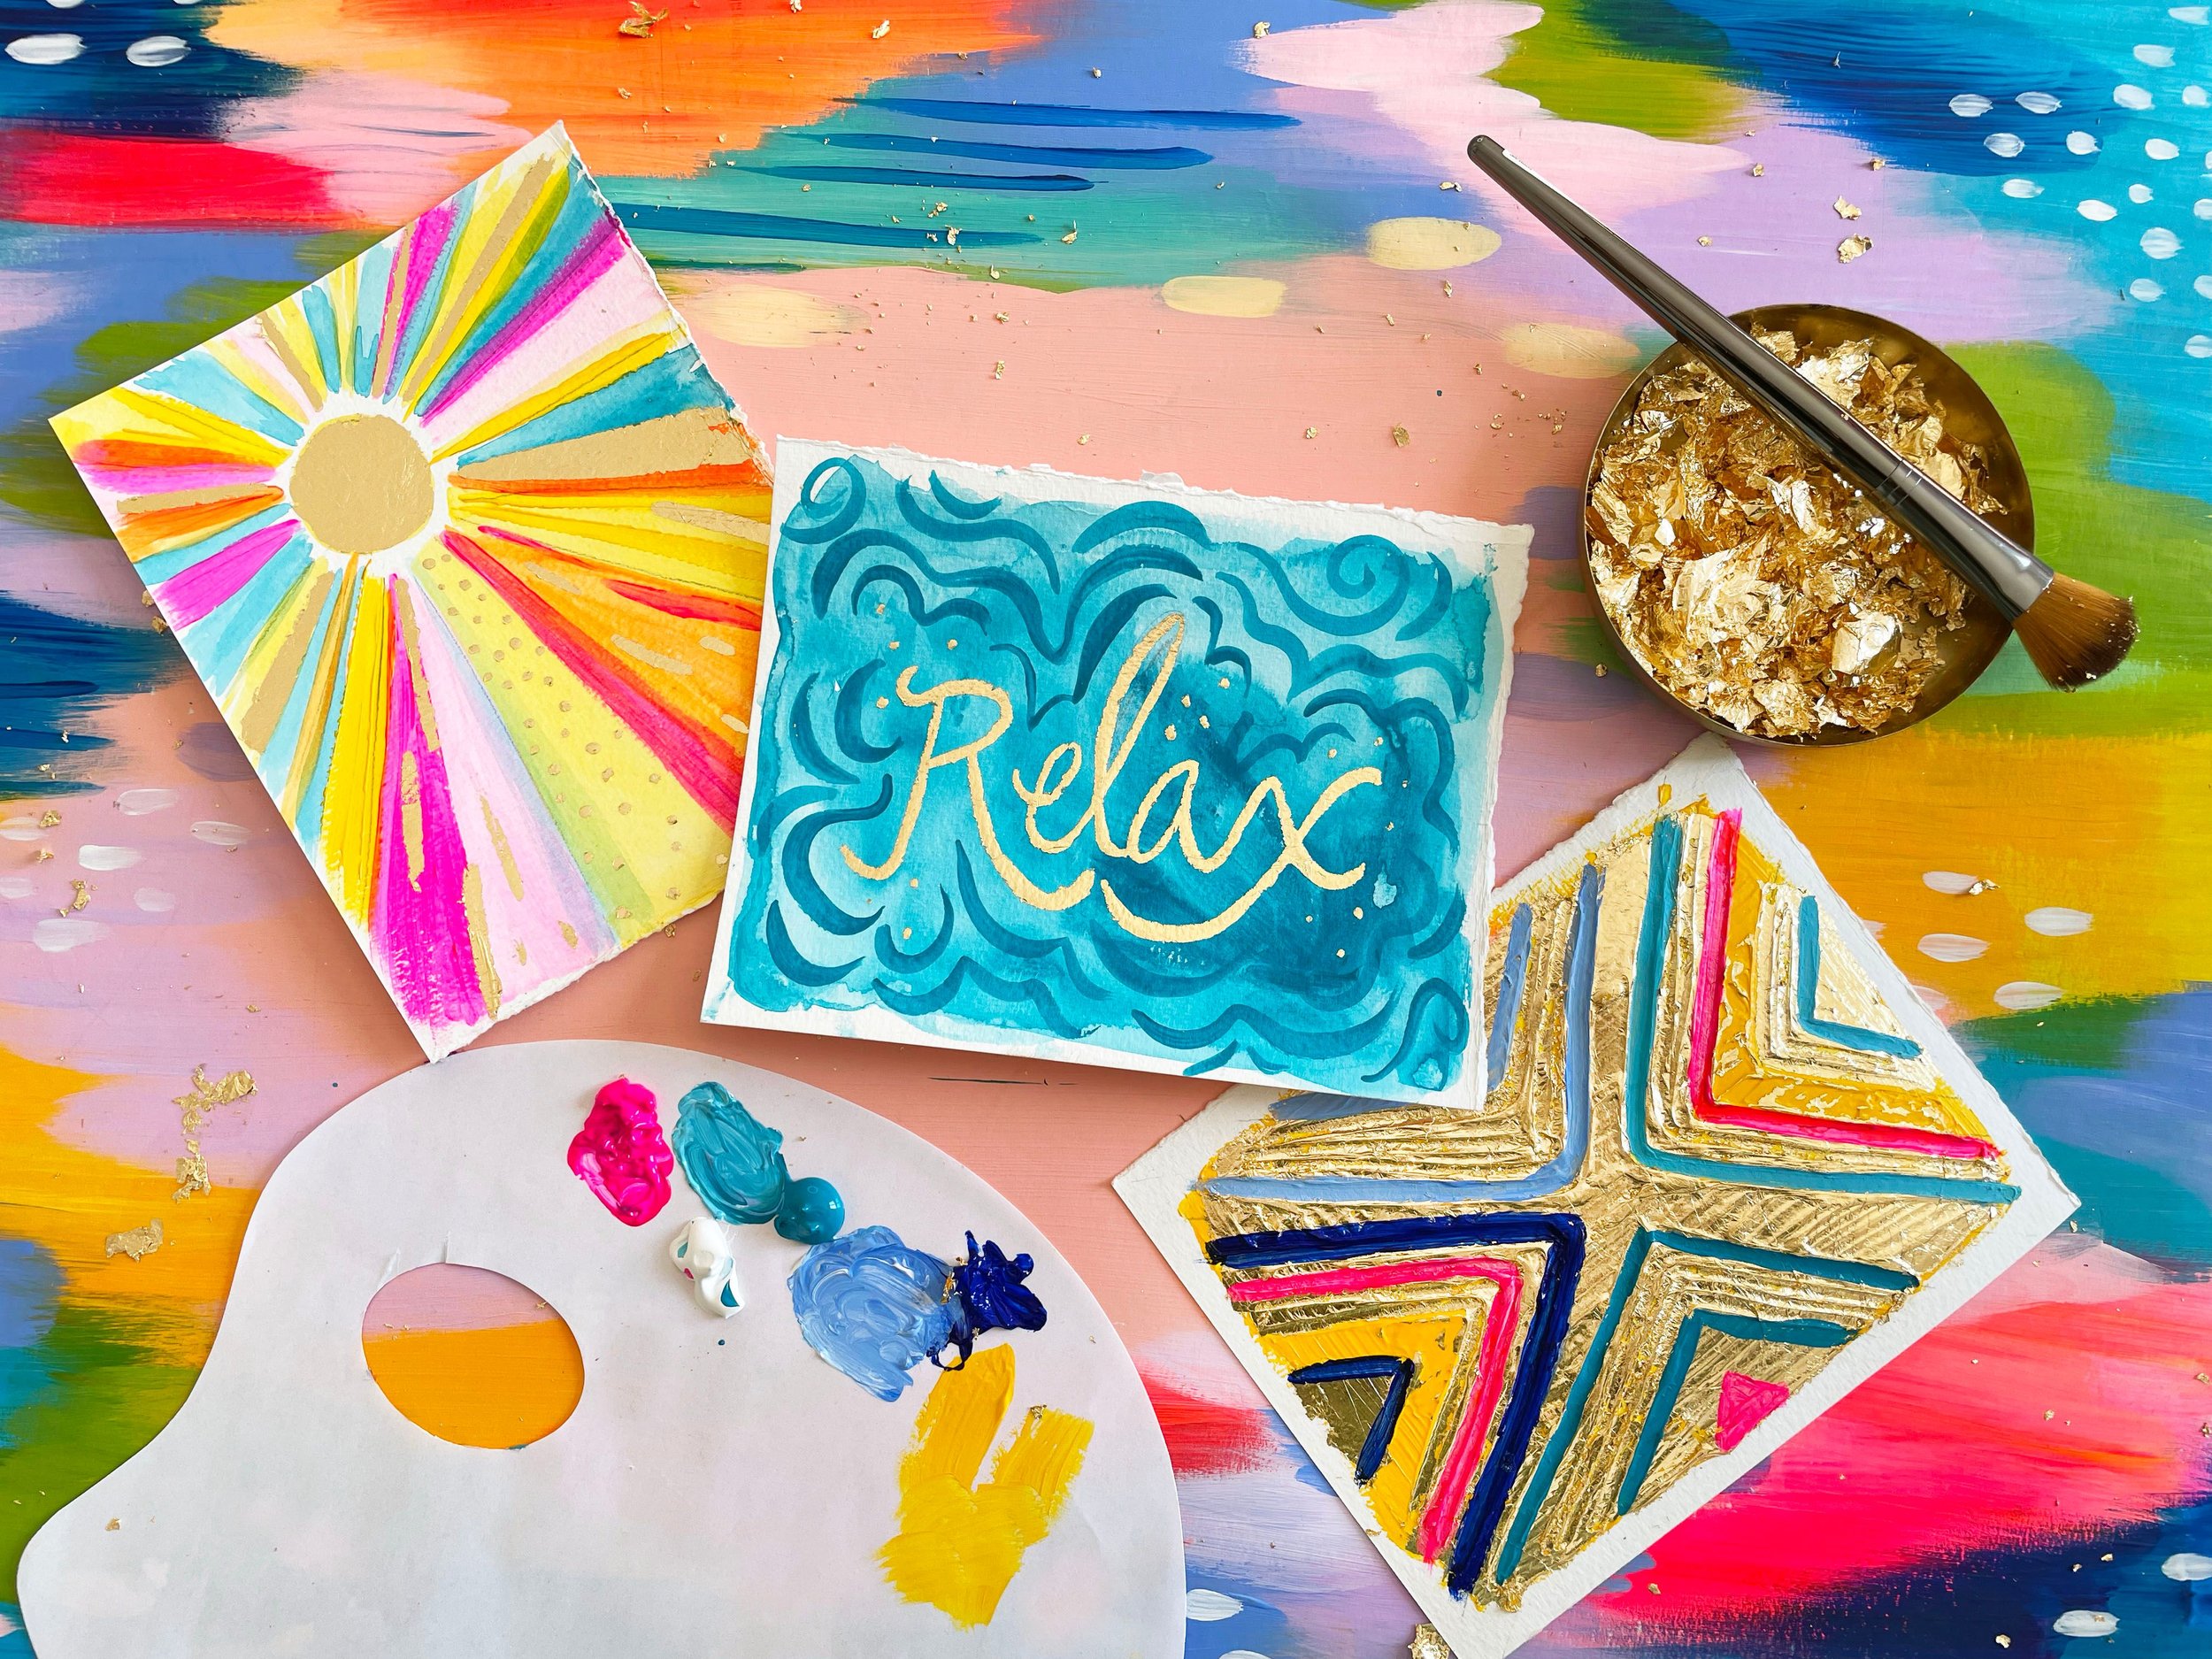
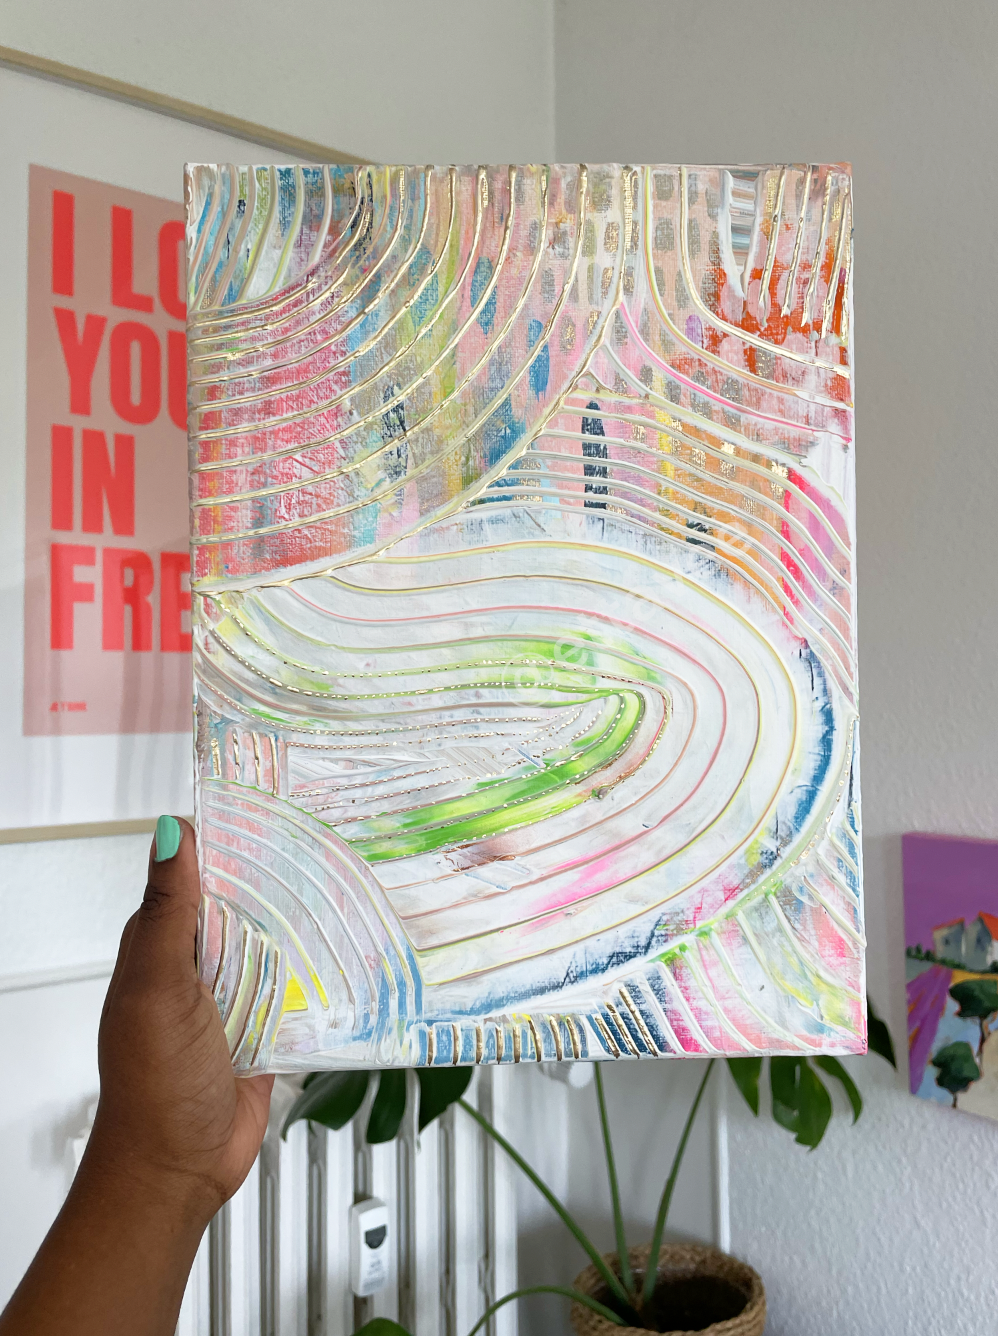
If you want your piece to be all one color, that’s totally fine. But adding some color and shimmer can take your textured painting to the next level. I especially love to add metallics to my textured pieces since the texture helps the metallic accent catch the light in super interesting ways!
Get creative, and have fun with this!
If you want to learn my process for adding metallic accents to my acrylic paintings using gold leaf, I’d love for you to join me in my class, Mesmerizing Metallics! You’ll learn more acrylic painting techniques plus a step-by-step process for adding shimmering gold leaf to your artwork!
If you’re brand new to Skillshare you can access this class plus thousands of others with a free month-long trial! My gift to you!
Pin this post for later! 📌
Hover or tap on this image and click the “Save” button on the top left!
