Seville Oranges
Supply List & Prep
Items to grab when setting up your painting space:
A pencil
Clean and flat area to paint
Water to clean brushes
Cloth or paper towels to dry brushes
Hair dryer for quicker drying
Painting Surface
Below are suggestions of painting surfaces. You do not need all of the options below. Just one surface is perfect! I will be using Canson Acrylic Paper for this project. It measures at 12.6” x 16.1”, but I will cut it down by half the size to be able to fit on camera.

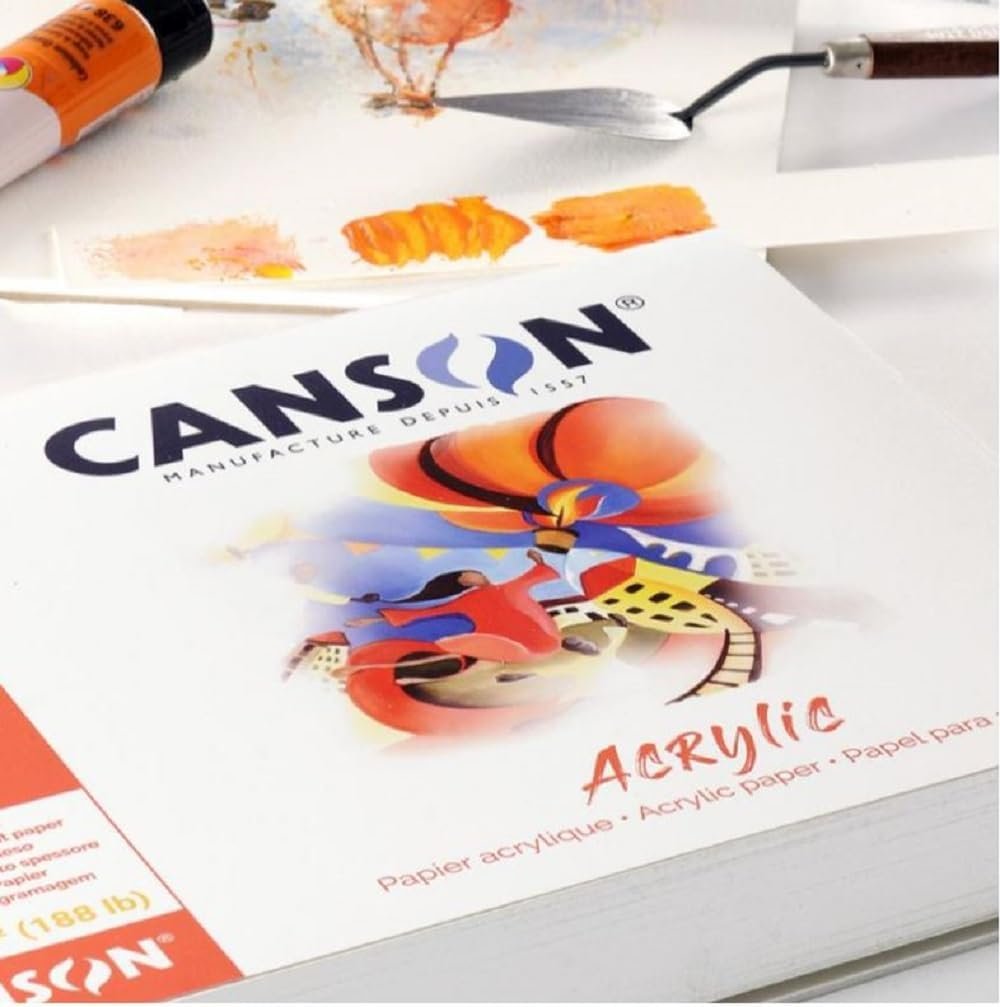
This is the paper i’ll be using in the class.


Paint Brushes*
Here’s a simple set that I came across on Amazon that has many sizes and at a great price.
You may also use any round brush you already have on hand. We will paint the majority of the piece with a medium sized round brush. Most of the small details will be made with paint pens.
Acrylic Paint
For this class, I’m going to give you the option to use either regular acrylic or heavy body acrylic.

Acrylic Paint - Basic Paint
You may use any brand of acrylics of your choosing for this paint session. I’ll be using Liquitex Basic Acrylic. They’re cost effective and great for leaning. Feel free to select any specific colors that you want in your piece.
Colors
Titanium White
Fluorescent Pink
Cadmium Yellow Medium Hue
Turquoise
Magenta Quinacridone
Fluorescent Orange
Optional - If you’re going for a certain color palette don’t hesitate to grab any additional colors that you may need.
Acrylic Paint Pens & Gel Pens

Gel Pens
I have an array of colors on hand. I’ll be using Fluorescent Orange for the leaves and details on the oranges. I’ll be using Gelly Roll gel pens by Sakura.

Posca Pens
Feel free to pick up any colors you’d like!
I’ll be using white and yellow.
Metallic Paint Pens
The brands mentioned below are suggestions. Feel free to use whatever you already have on hand or can easily find at your local art/ craft store.

Prepping your Piece
Some participants like to prep their piece prior to class! I will walk though the drawing process in detail in lesson 1, but you can get a feel for what we’ll be doing below.
No need to match my design perfectly, feel free to add your own flair! For this class, we’ll be creating design guides to help us layout our composition and to use it as a guide while painting. Scroll down to see how to prep your piece (located below inspo).
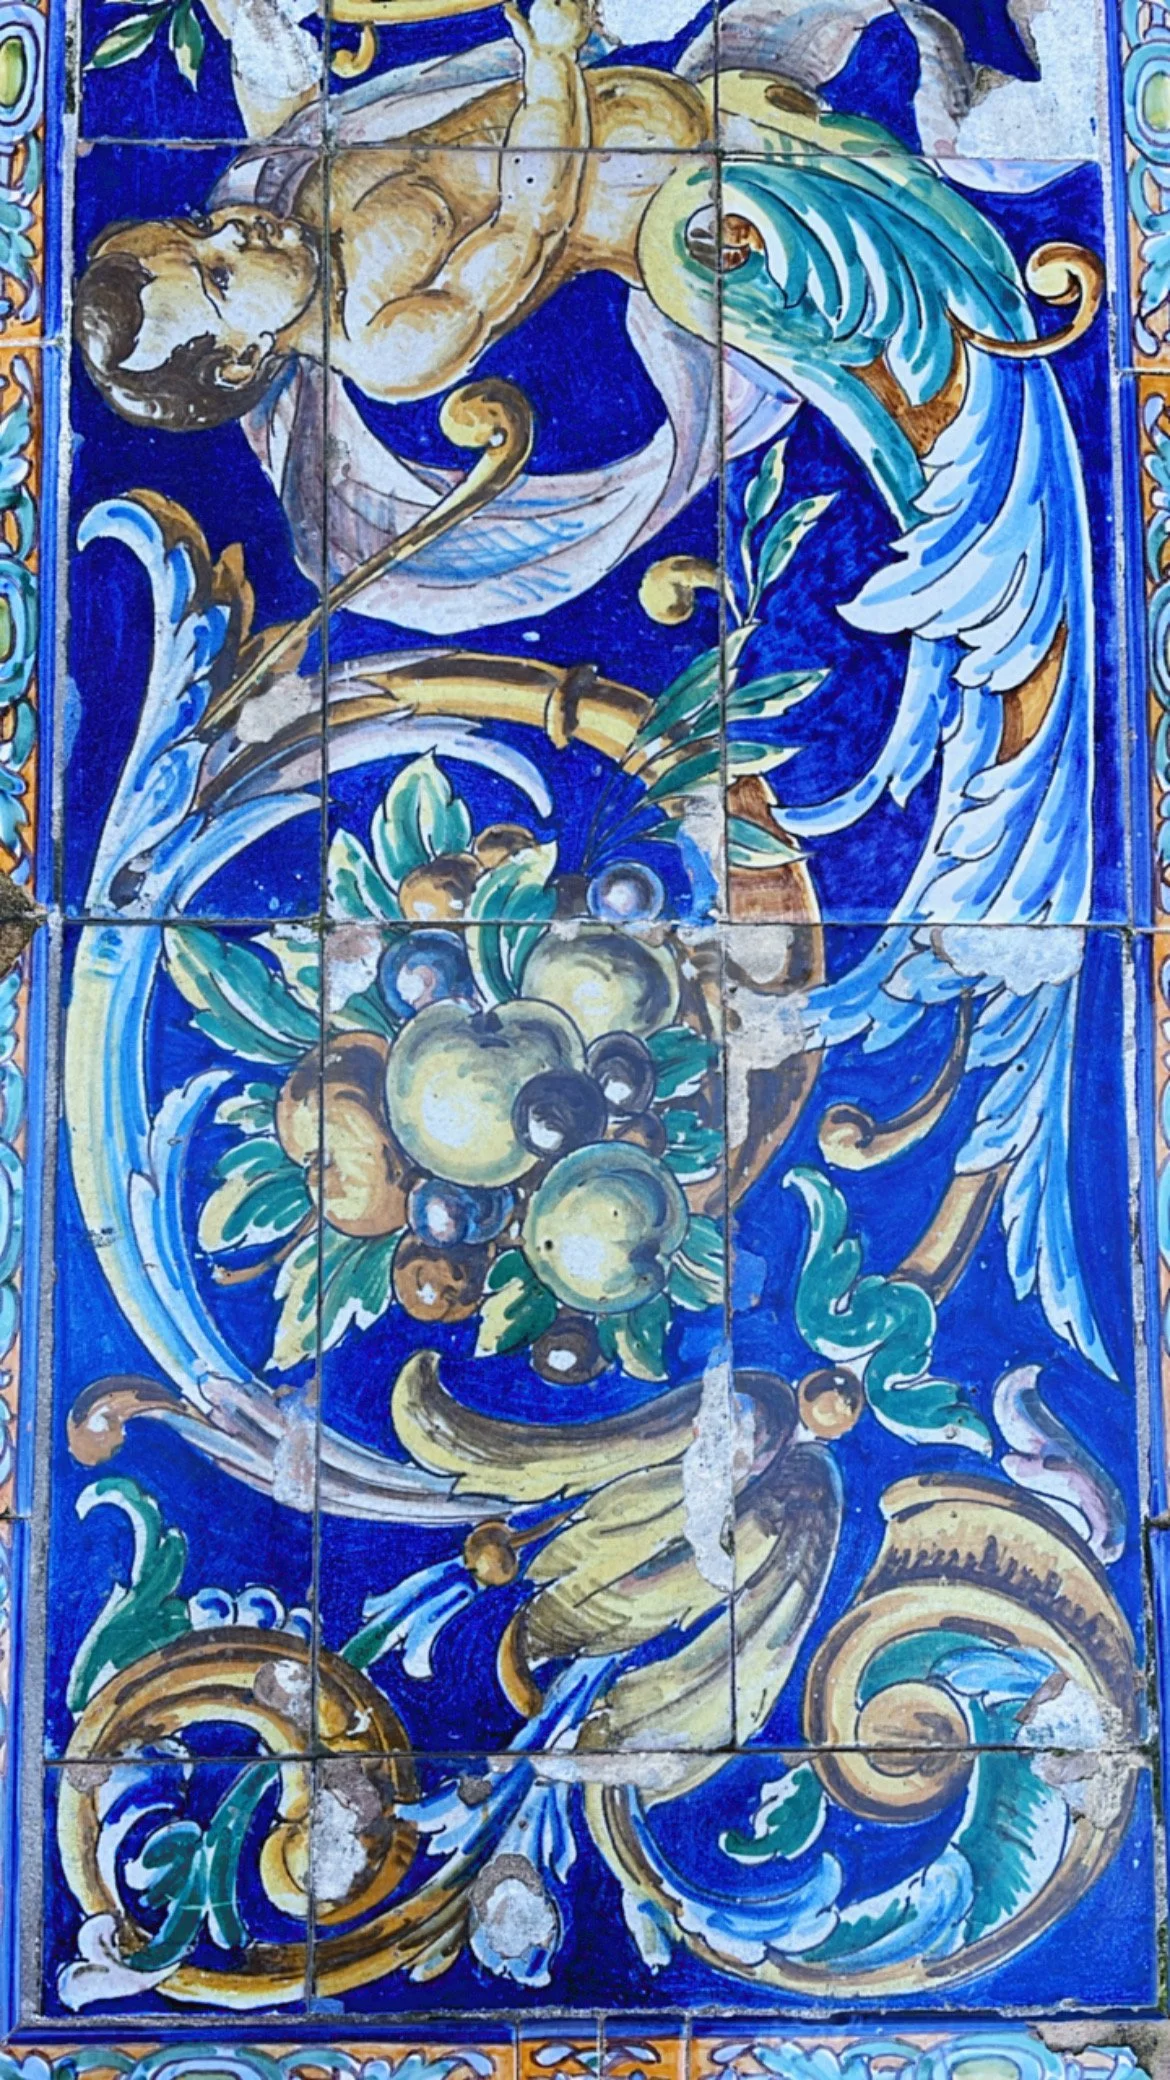
The inspo behind the class
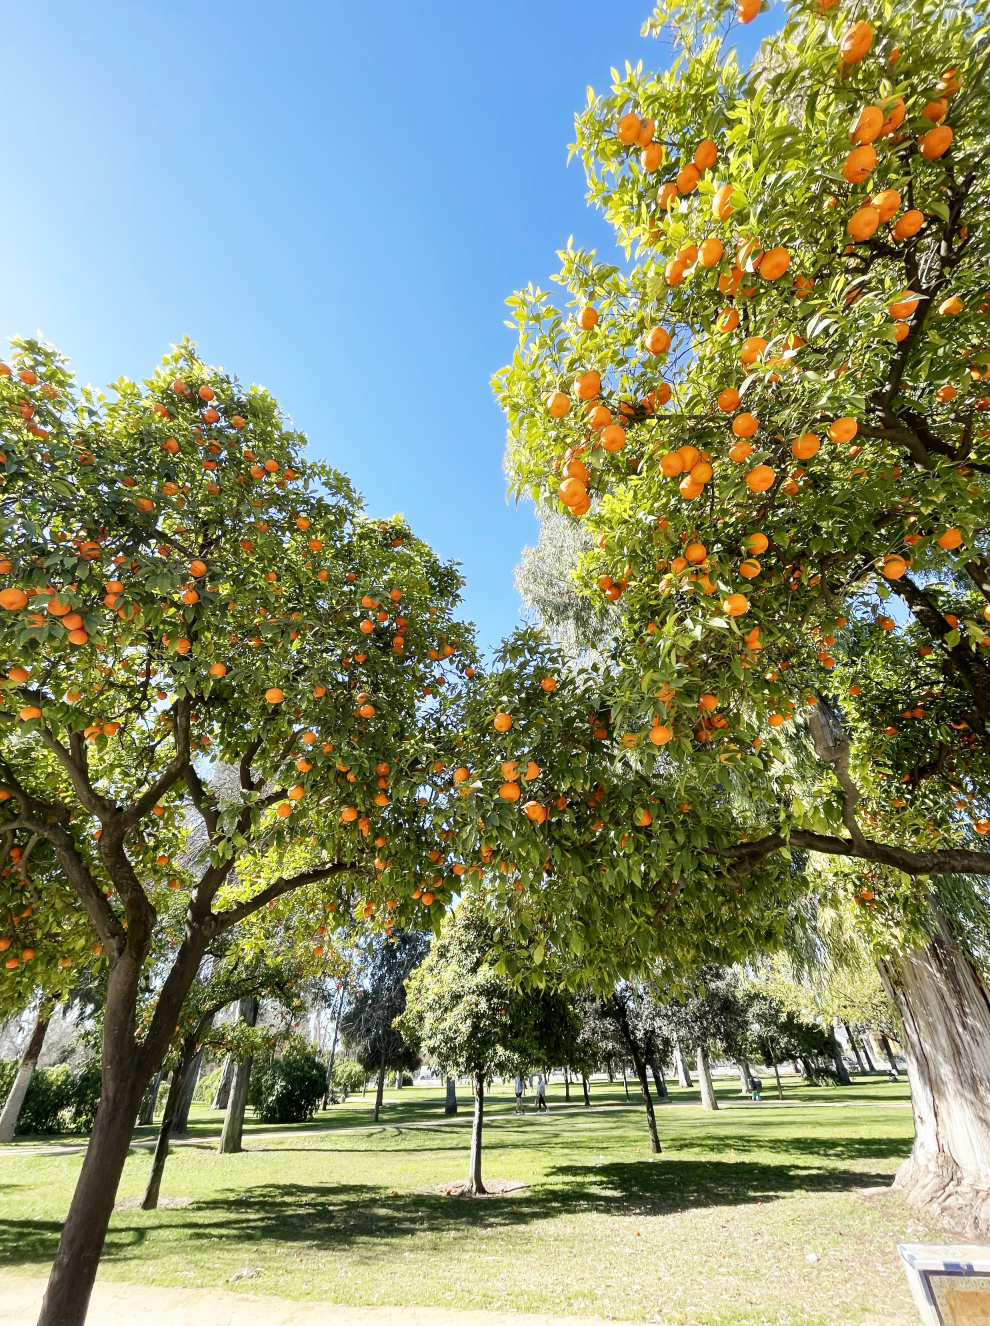
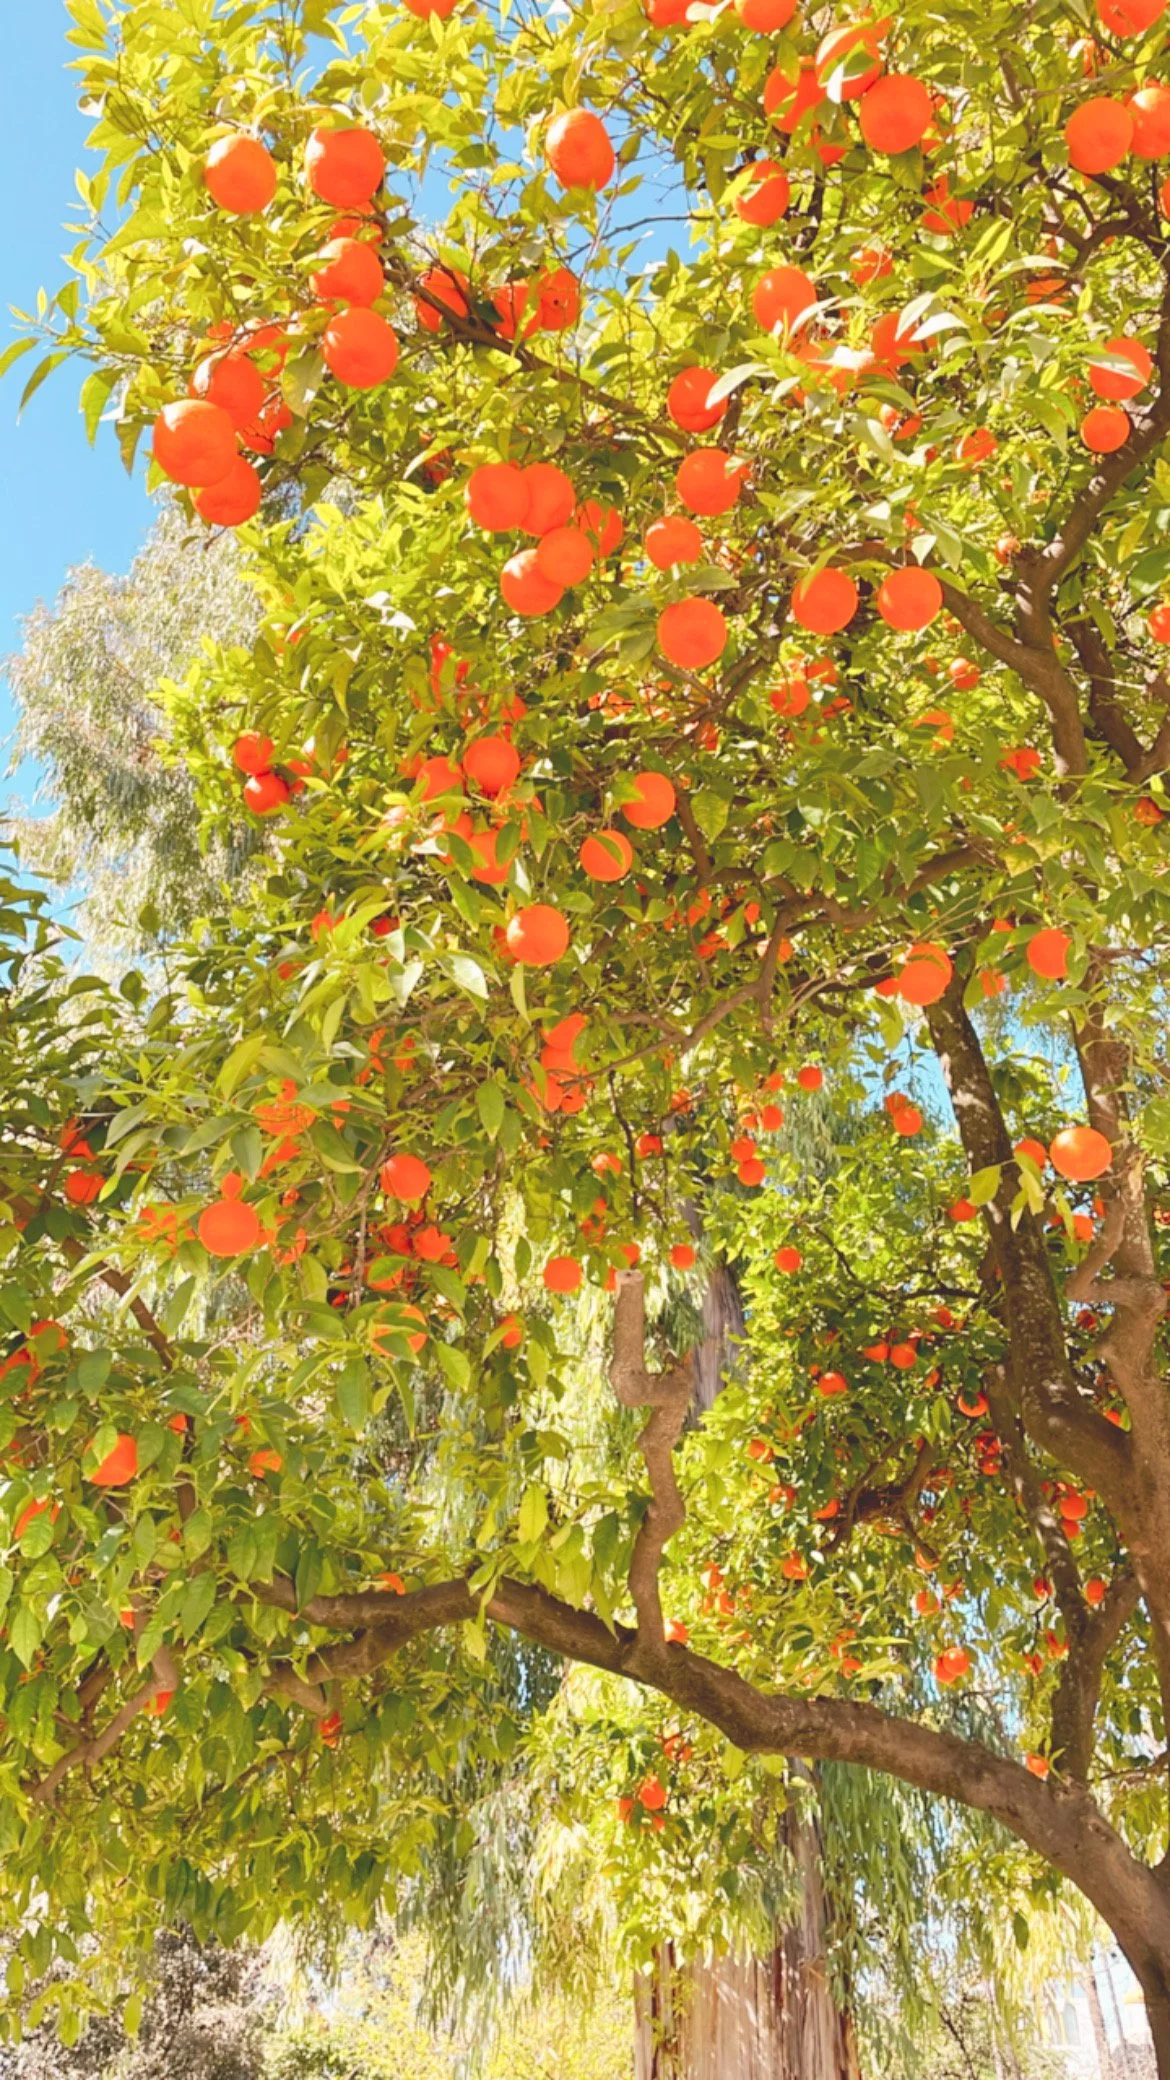
Recently, my family and I visited the colorful city of Seville, Spain. The first thing we noticed about the city were that there were orange trees EVERYWHERE! The city truly felt as if it were in bloom.
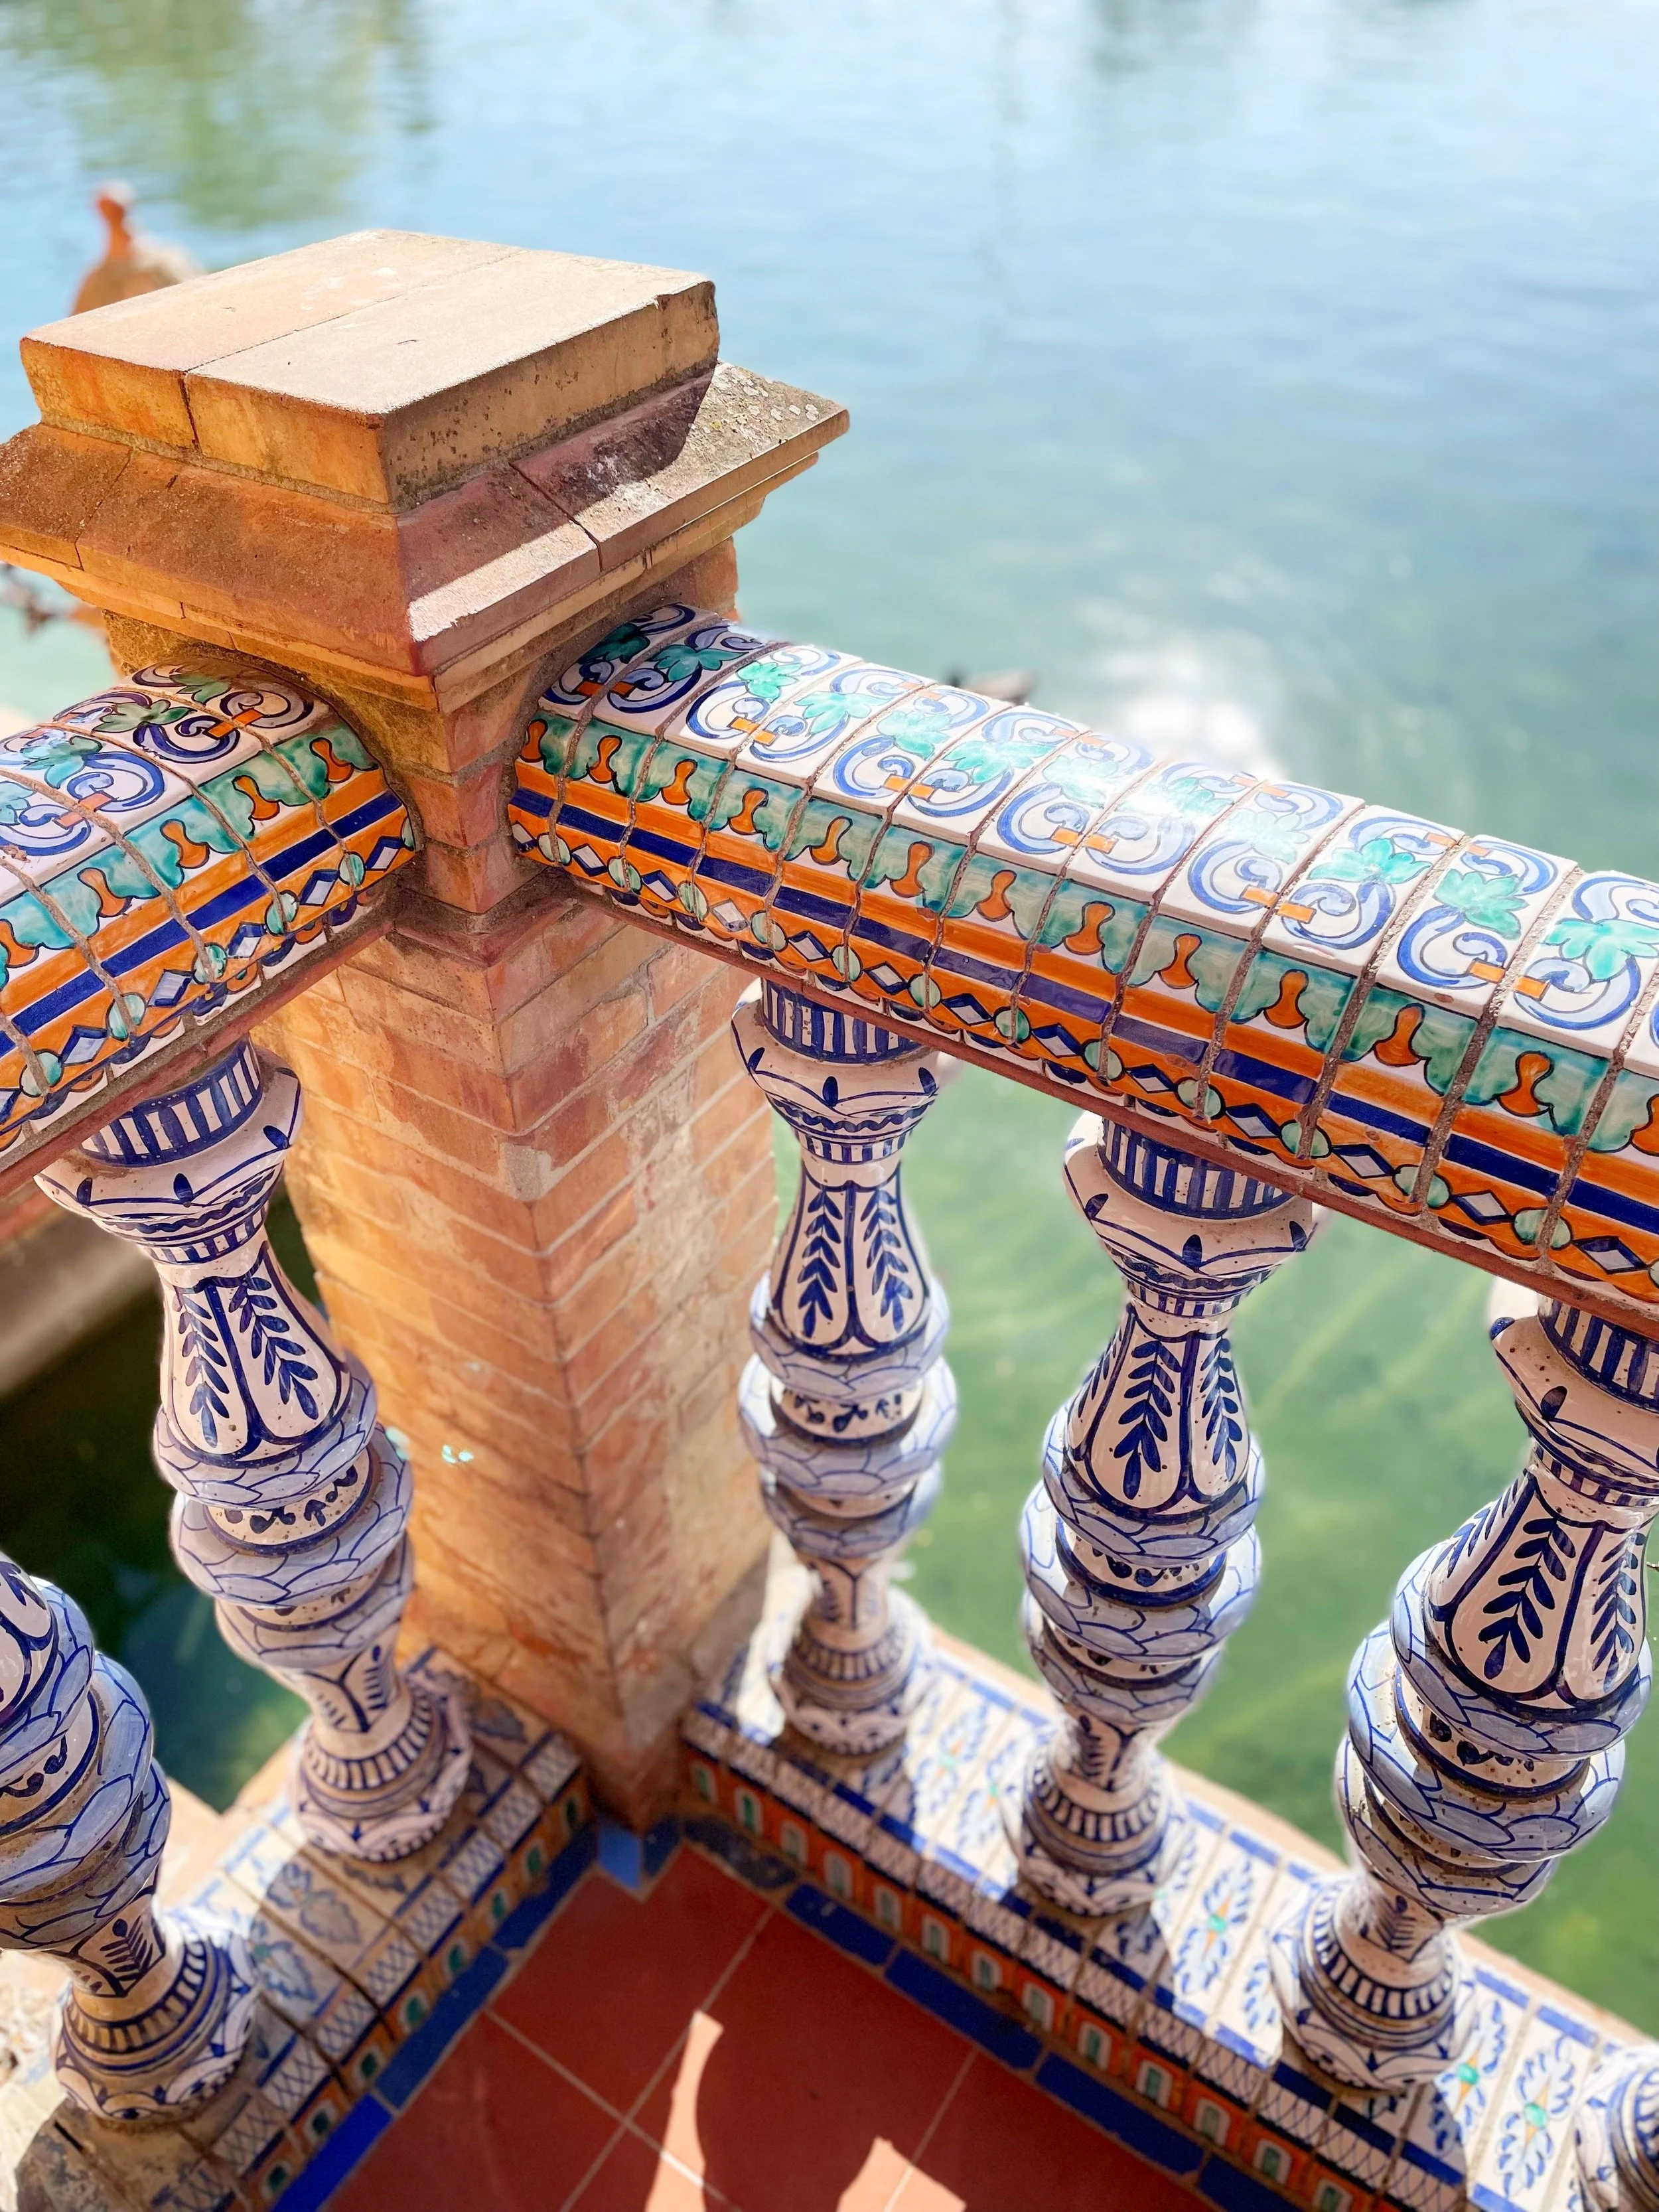
While in Seville, we visited Maria Luisa Park and I was very inspired by the Plaza de España. It’s a plaza with elaborate tiled chairs dedicated to all of the cities of Spain. There were patterns and colors galore! We’ll be using the festive patterns found in Plaza de España to decorate the leaves of our orange tree!


Prep Your Piece

Step 1
Grab a pencil and the surface that you’ll be painting on. It’s ok if it’s not the same as mine. In my case, I’ll be painting on acrylic paper by Canson. The page is quite large, so I’ll only be painting sketching/ painting on half of the page.

Step 2
Using a straight edge (like a ruler), I drew a line down the center of the page. This is to give myself a boundary to paint within. When the piece is done, I’ll simple cut the page in half and will paint another creation on the other side. Lightly sketch four simple and slightly curvy lines. These will be the guide for our tree branches.

Step 3
Next, add leaves to three of the curved lines (pictured above). Make sure each leaf is slightly different in shape. Also, make sure that you’re still sketching lightly. I’m pressing harder in the image above so that it’s easier for you to see the lines.
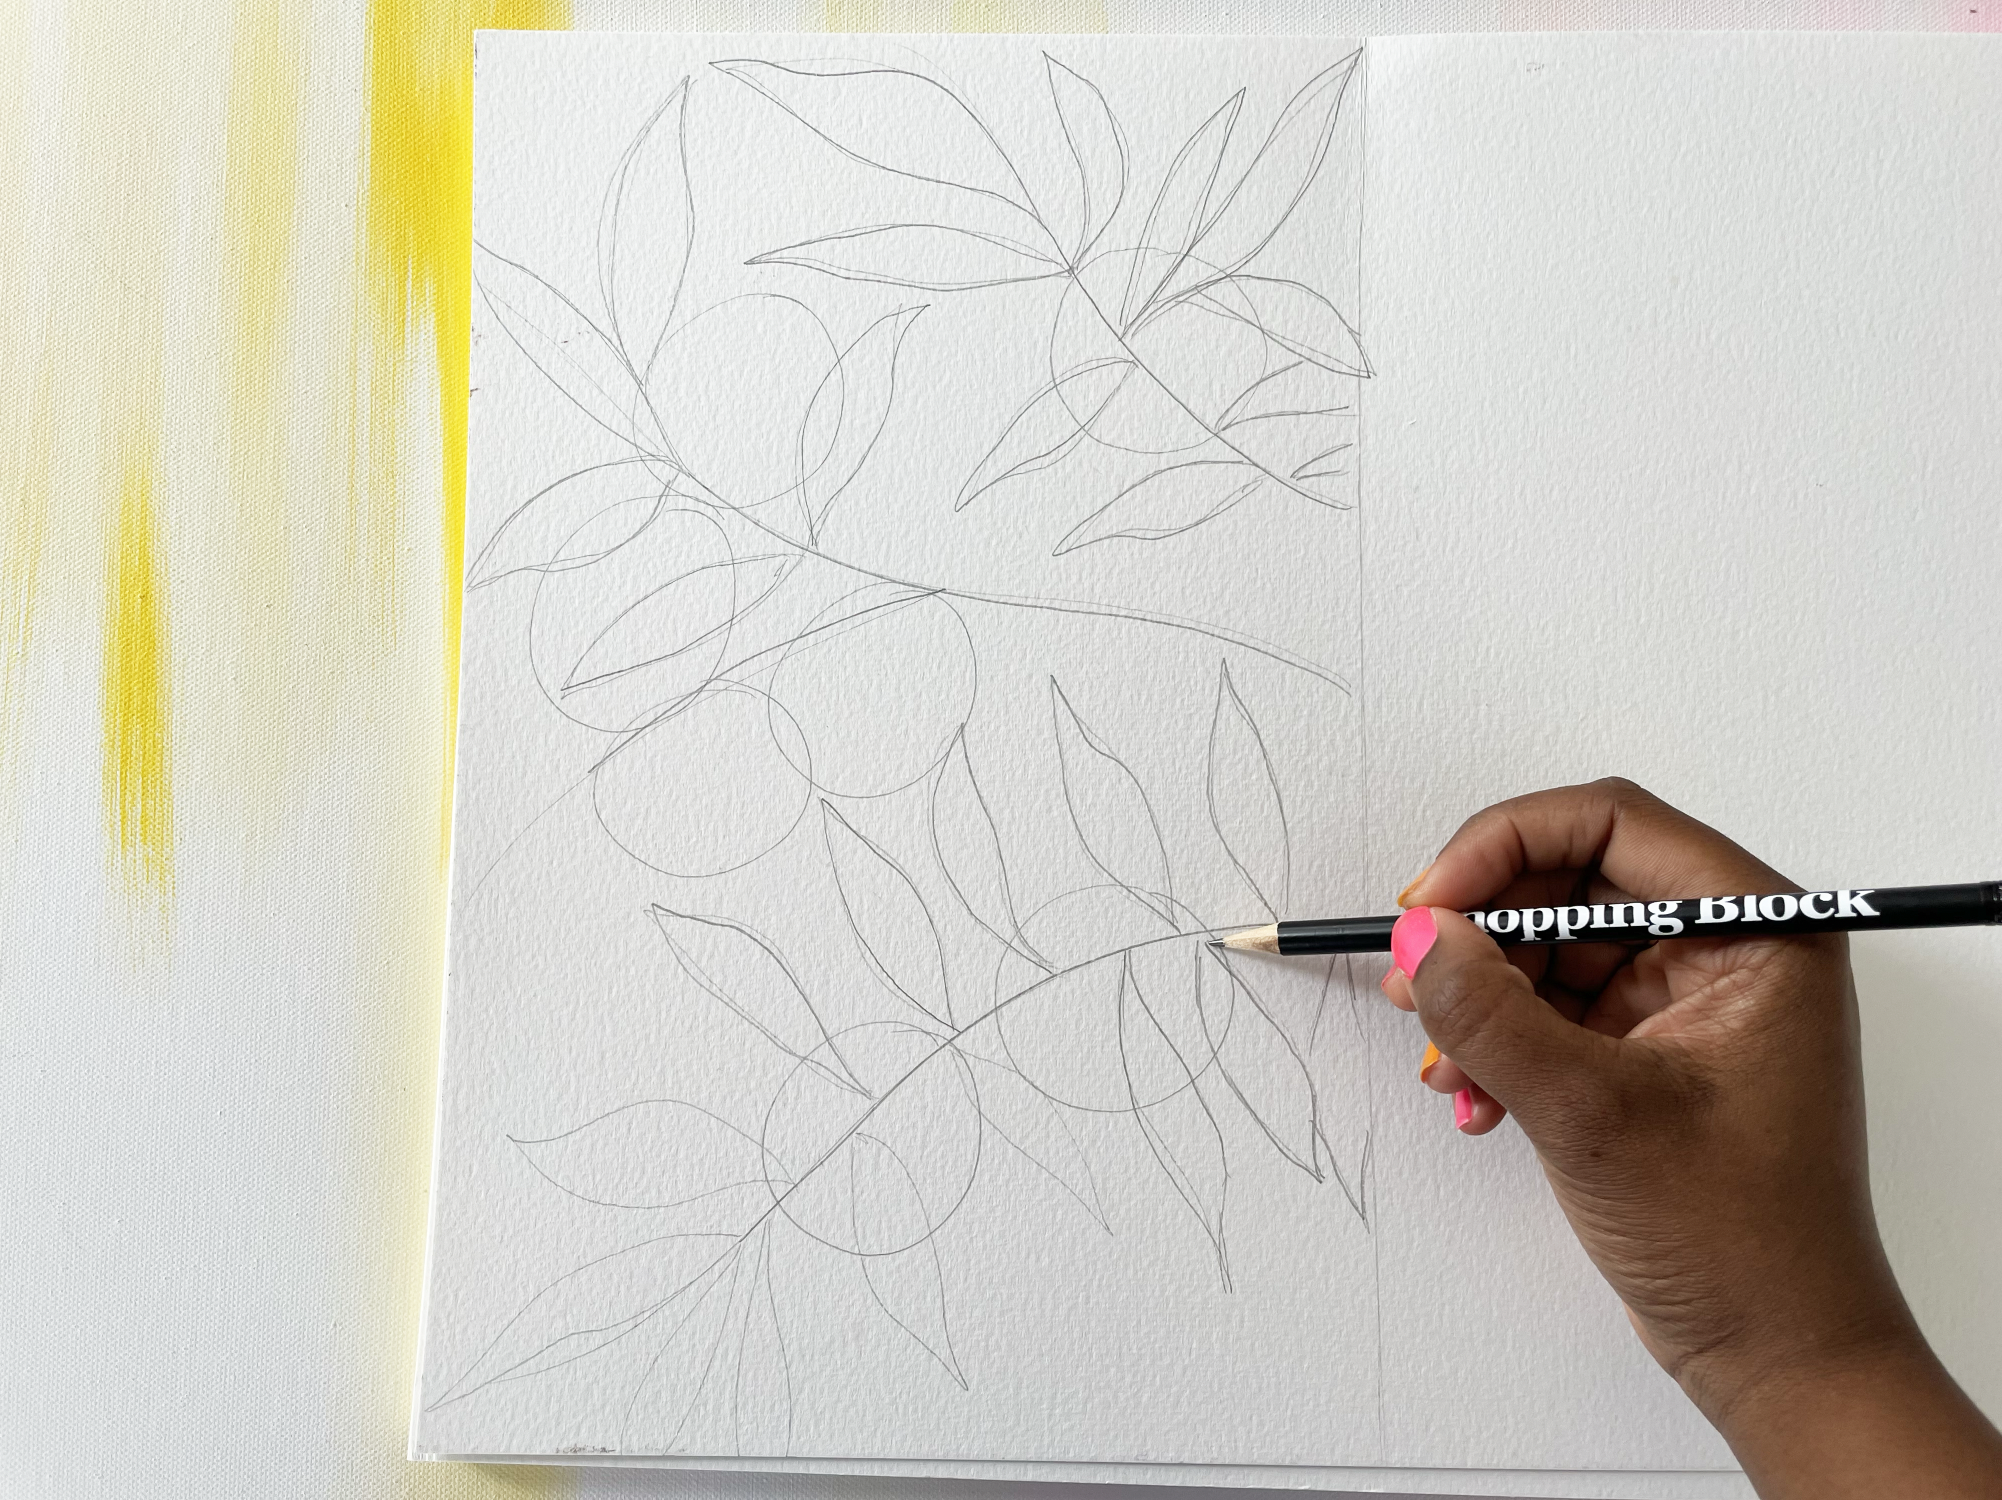
Step 4
Lightly sketch seven circles that will become our oranges.