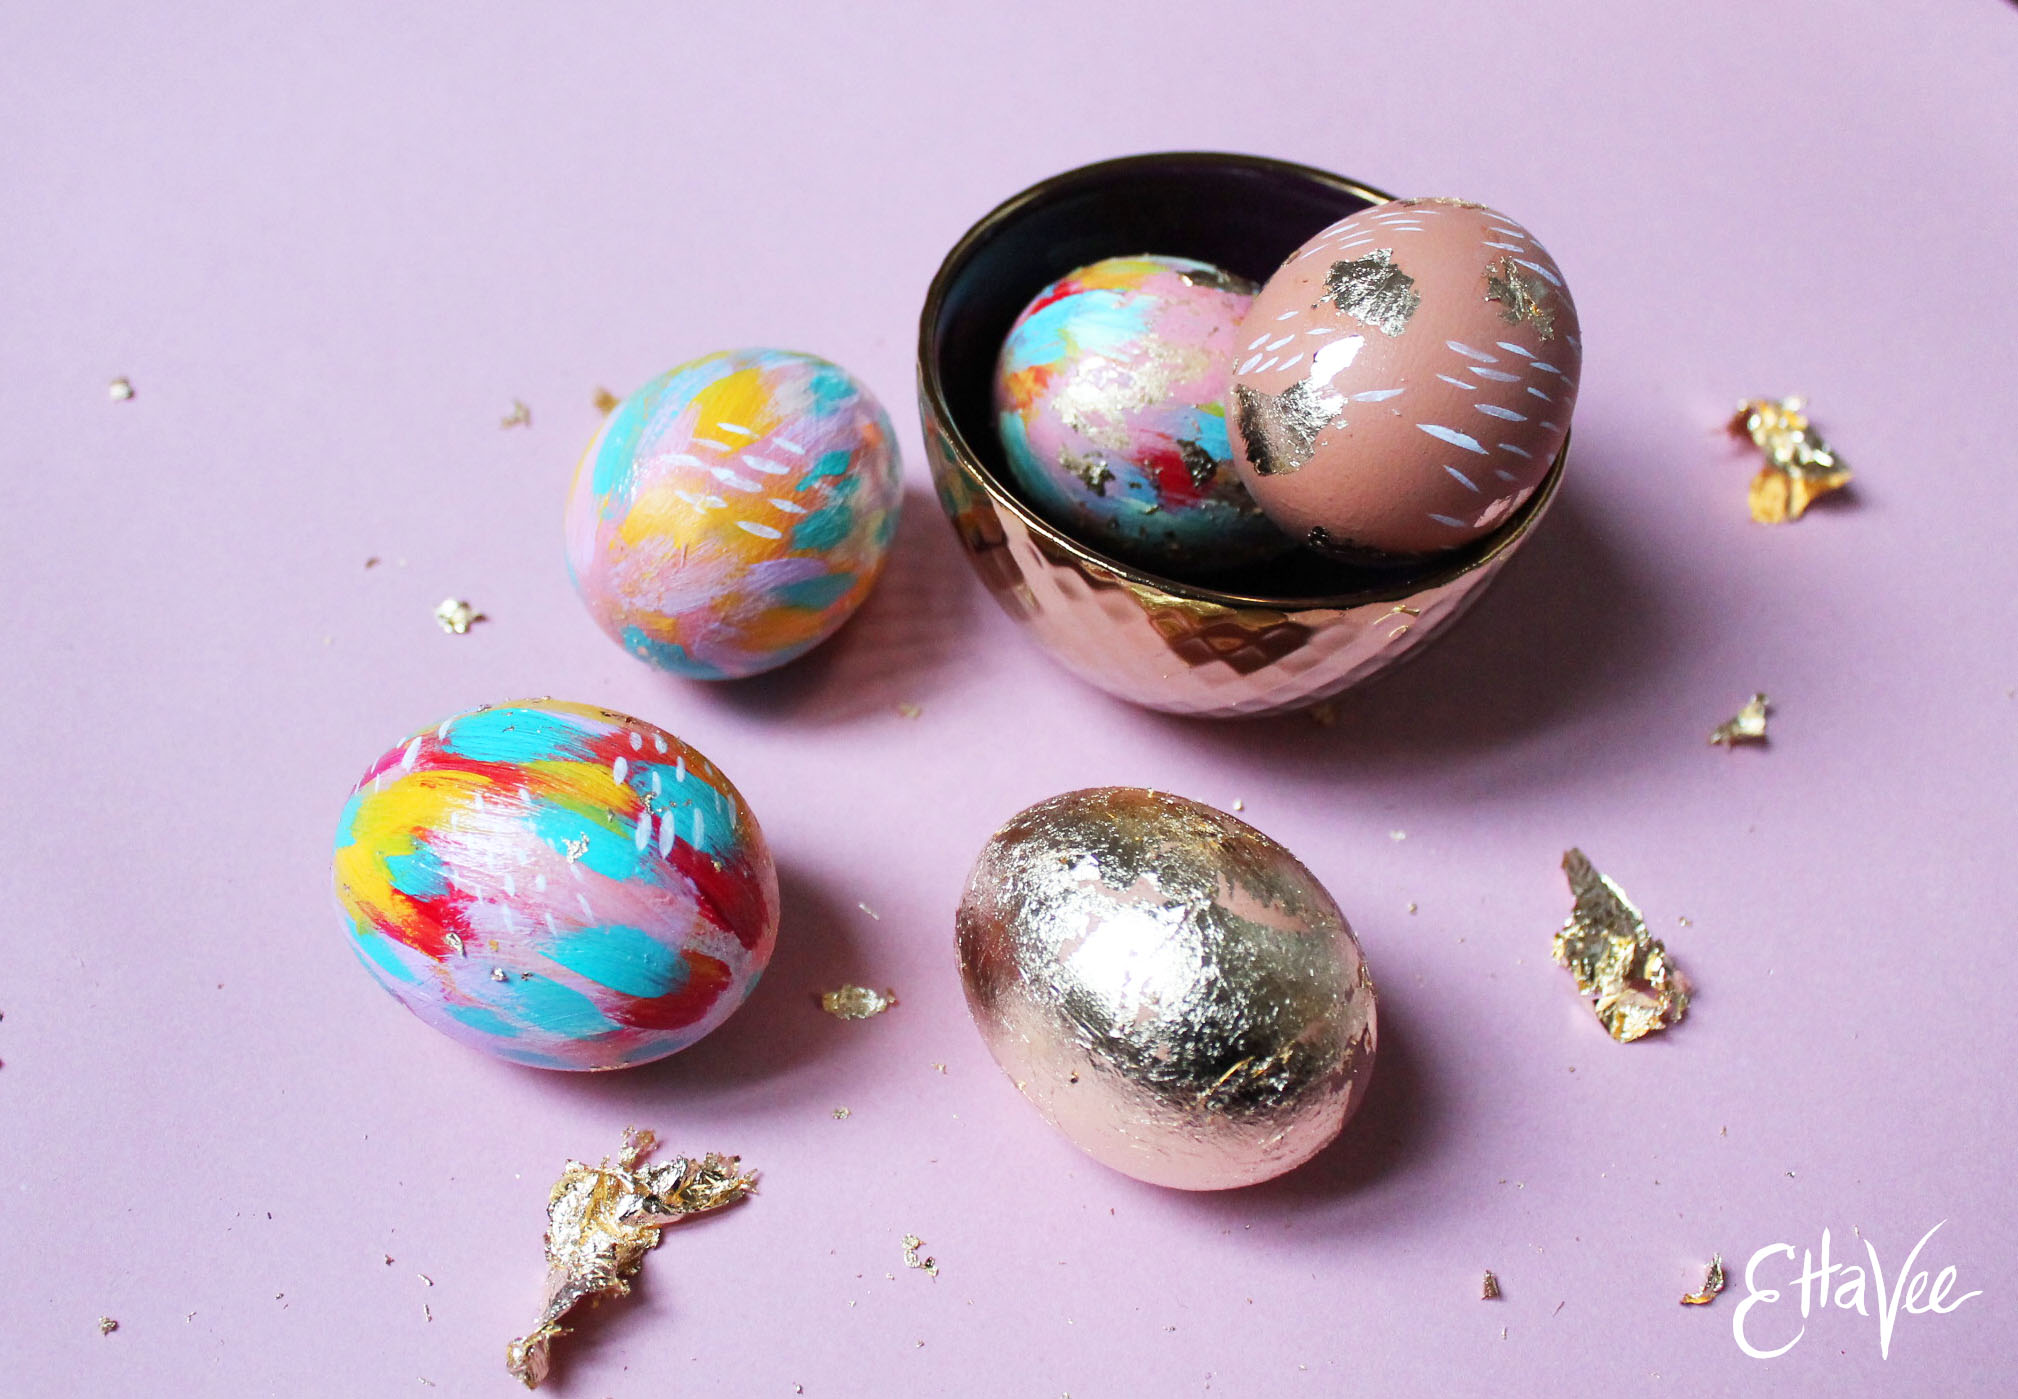
DIY - Bright Brushstroke Easter Eggs Tutorial

What's easter without some colorful decorated eggs! Living in France, I have yet to come across egg dyeing kits - I'm not sure if that's something they do here. So, I decided paint some eggs with my #brightbrushstrokes to conjure some springtime magic!
Note: I don't recommend using this technique if you plan to eat the eggs. I'm using acrylic paint and this is for decoration purposes only.

WHAT YOU'LL NEED:
hard-boiled eggs
paint - I use acrylic paint, choose colors that speak to you!
paint brush
gloss
glue - I use decopatch, you could also use mod podge
gold foil
Painted Eggs
1. Take a clean hard-boiled egg and paint it a solid color. This creates a nice colorful backdrop to start with. Let the egg dry fully.
2. With a second color add random brushstrokes all over the egg and let it dry.


Repeat these steps with different colors until the egg is covered in colorful goodness!
3. Add a layer of gloss to seal in the color and add a little shine to your eggs. Et voila!

I used a small nail polish brush to add the small details.
Gold foil Eggs
1. With a paint brush, cover the full surface of a clean hard-boiled egg with glue. It's nice to give the egg a little time to dry before adding the gold foil.

2. To add gold foil, lay a full sheet of foil over the egg and lightly smooth the foil over the egg.


3. Let the foil dry for about 10 minutes, then remove any excess foil. And that's it!


I hope this little tutorial adds some springtime joy to your easter baskets! I'd love to see your colorful brushstroke eggs!! Be sure to tag #ettavee if you do post them :)
xo,
Jessi