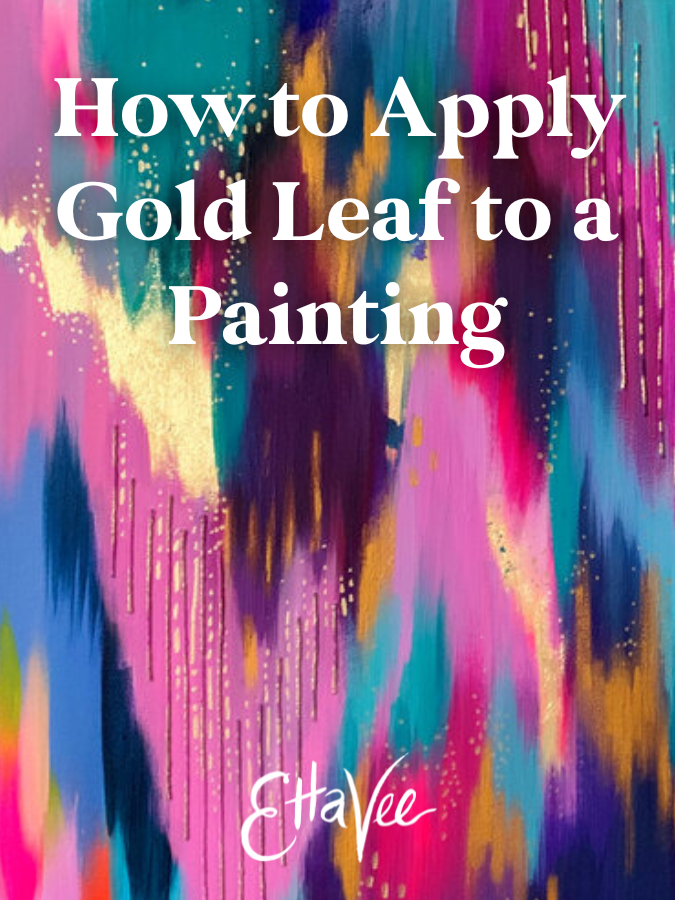
How to Apply Gold Leaf to a Painting
In this tutorial, I’ll walk you through how to use gold leaf in your artwork. I absolutely love gold and find that gold leaf is a fabulous medium to use to create a stunning, shimmering, and unique piece of artwork.
But gold leaf can be tricky. This art tutorial will help demystify the process of applying gold leaf. If it’s your first time using it, just know that it can be a little finicky. Try to approach it with a sense of curiosity and patience. Know that your piece doesn’t have to be perfect. As you gain experience with gold leaf you’ll get more comfortable and it will get easier and easier to use.
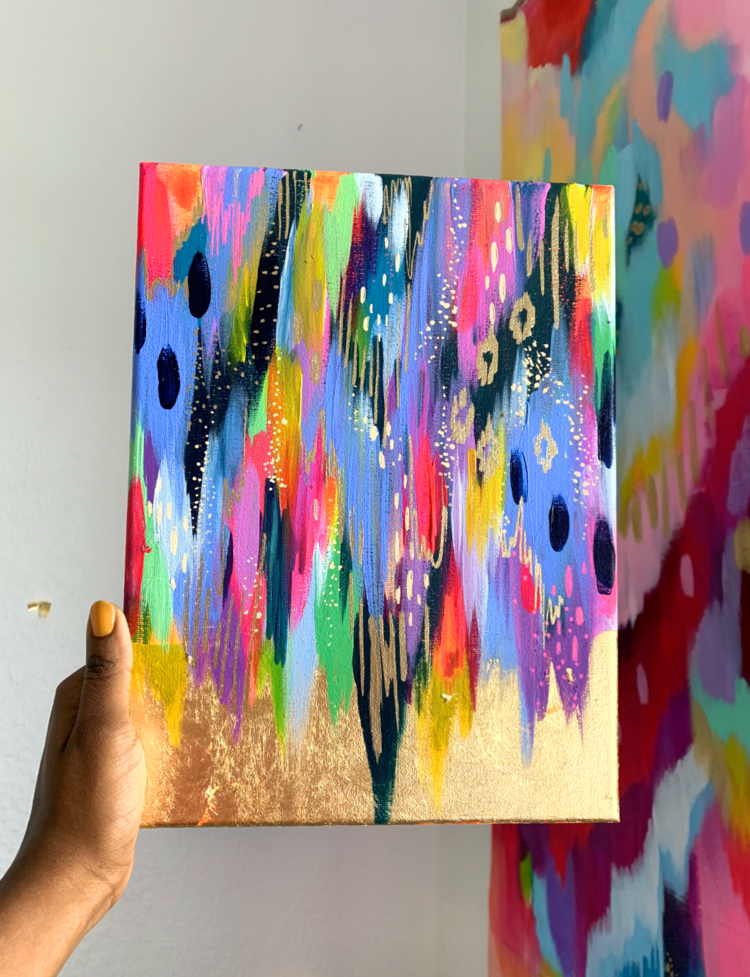
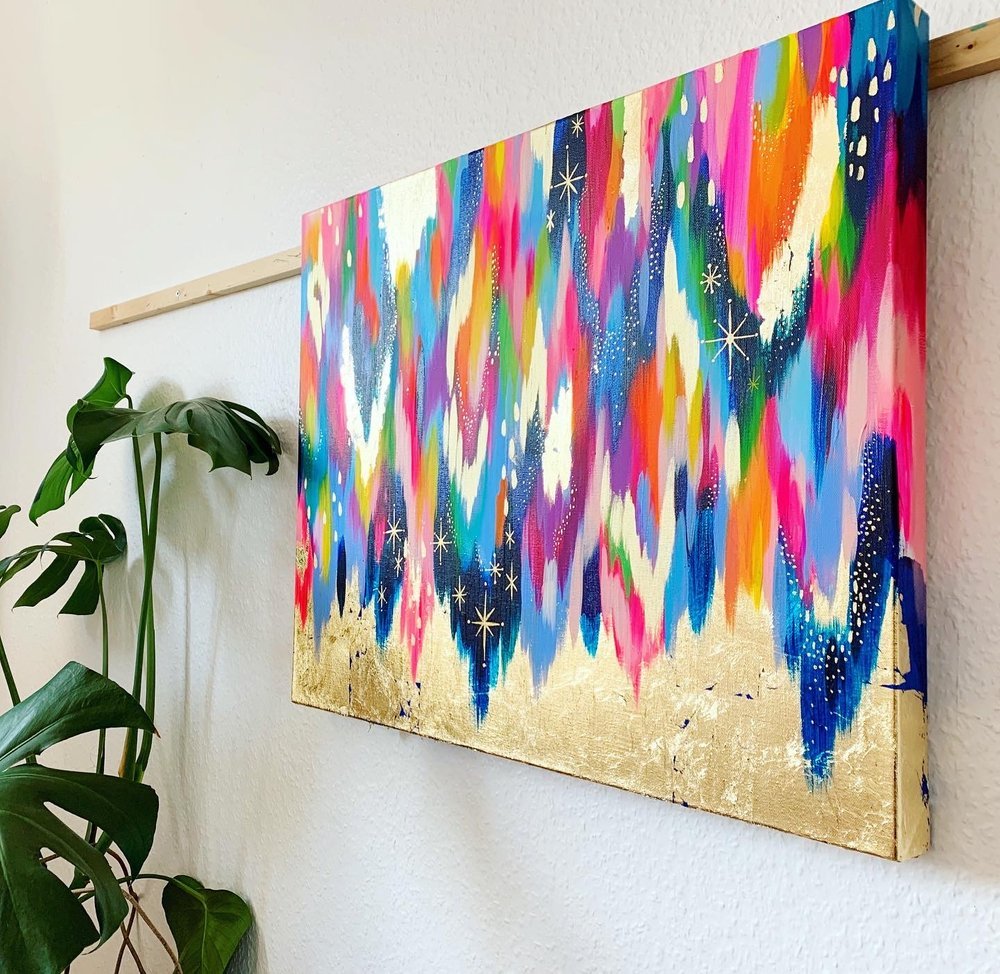
I use gold leaf in many of my paintings, and I just love the pop of shimmer! In my paintings, you’ll see that my painted brushstrokes and the gold leaf are integrated into a seamless composition. I apply the gold leaf first (after painting a background layer) and then paint my top layers on top of the gold leaf. This gives the piece a cohesive look while still letting the gold leaf shine!
Now let's dive into learning how to create gilded masterpieces with gold leaf!
Supplies
My favorite gold leaf sheets to use are the Mona Lisa brand. They also make gold leaf adhesive (what you put on your canvas to make the gold leaf stick) and gold leaf sealant (what you put on the gold leaf afterward to prevent it from tarnishing). You can shop all three of those products here.
If you don’t want to buy the special adhesive, you can use a thin layer of paint or varnish as the adhesive instead. I just find that when I use paint as the adhesive for my gold leaf it tears more easily. And if you do use varnish as the adhesive, just note that you can’t use it on top of the gold leaf or it will tarnish. Only apply it as the adhesive, not as a traditional varnish on top.
It is important to get the specific sealant for gold leaf as this is the one product that will seal gold leaf without tarnishing it!
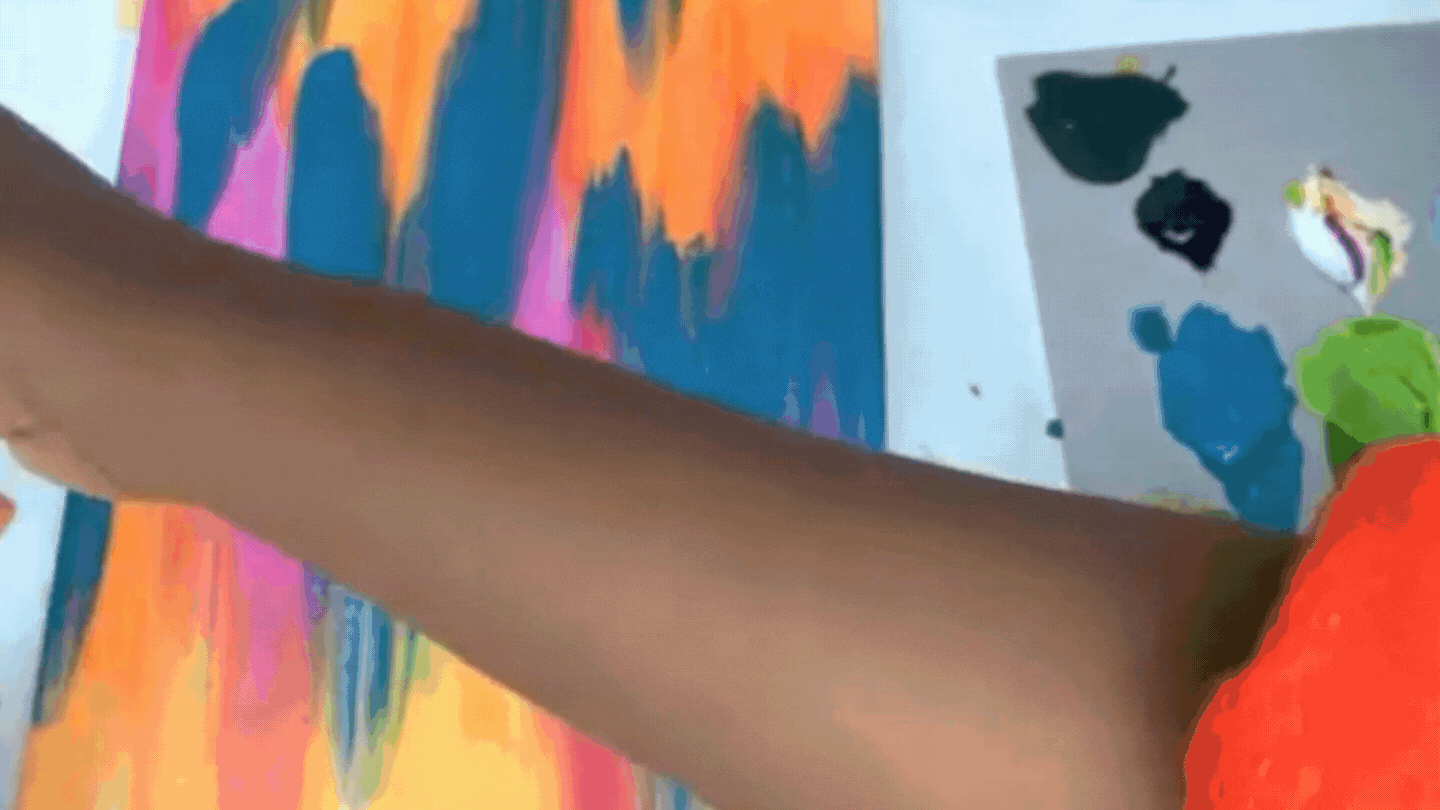
Step 1: Paint the background layer
When I’m working on a piece with gold leaf, I always paint a background layer first. The reason for doing this instead of starting with gold leaf straight on the canvas is because sometimes you can see through the gold leaf after it’s been applied. I’d rather have a color showing through than the white canvas so it looks more integrated with the entire piece.
In this example, there are a few intentional holes in the gold leaf, and you can see the background layer peeking through instead of a white canvas. Paint your background layer and make sure it’s completely dry before moving on to the next step!

Step 2: Apply adhesive
Next, it’s time to apply the gold leaf adhesive to your canvas. Gold leaf will stick to every part of the canvas where you apply adhesive, so keep that in mind when you’re brushing it on.
The key with gold leaf adhesive is to apply a light layer. If it’s too wet it will create holes in your gold leaf. Just add the tiniest bit to your brush and lightly brush it across the canvas.
I apply my adhesive horizontally because I want to make sure that I get full coverage of the area. I end up painting over my gold leaf so that there’s not a stark edge where brushstrokes end and gold begins, so it doesn’t matter too much how the adhesive is applied. Apply your adhesive in whatever way you want for your painting, just know that anywhere that you put down adhesive, the gold will stick. But you can always paint over it!
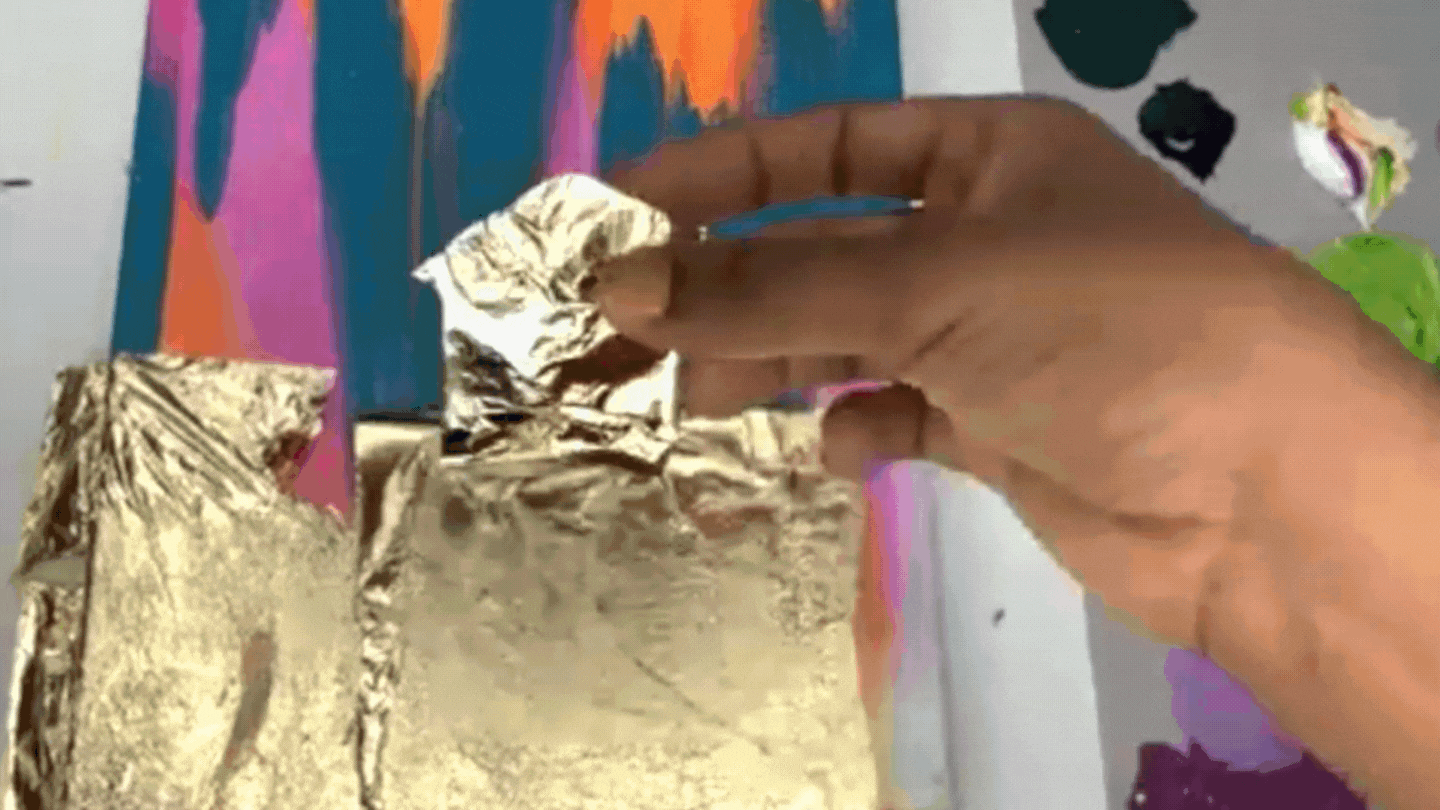
Step 3: Add the gold leaf
Now it’s time to add the gold leaf! I prefer to apply gold leaf with my canvas flat because it allows me to get a much more even lay. You want to lay the gold leaf down as flat as possible on top of the adhesive when you apply it.
Use a very light touch when handling the gold leaf. The sheets are super delicate so I try to use my fingertips at the edges of the sheet so I don’t overwork it.
Now gently lay your first sheet down on the canvas where you put your adhesive. I know it can be tricky since gold leaf is so delicate, but try your best to lay it in a flat and even way. My example isn’t perfect, but that’s no big deal. Sometimes imperfections can be the most beautiful things in a piece!
Next, you’ll want to make sure the gold leaf is completely flat on the adhesive. You can do this by gently tapping with your finger. I’ve found that a tapping motion works best because if you swipe your finger across the gold leaf you run the risk of picking up the gold which would leave you with holes. A gentle pat works best!
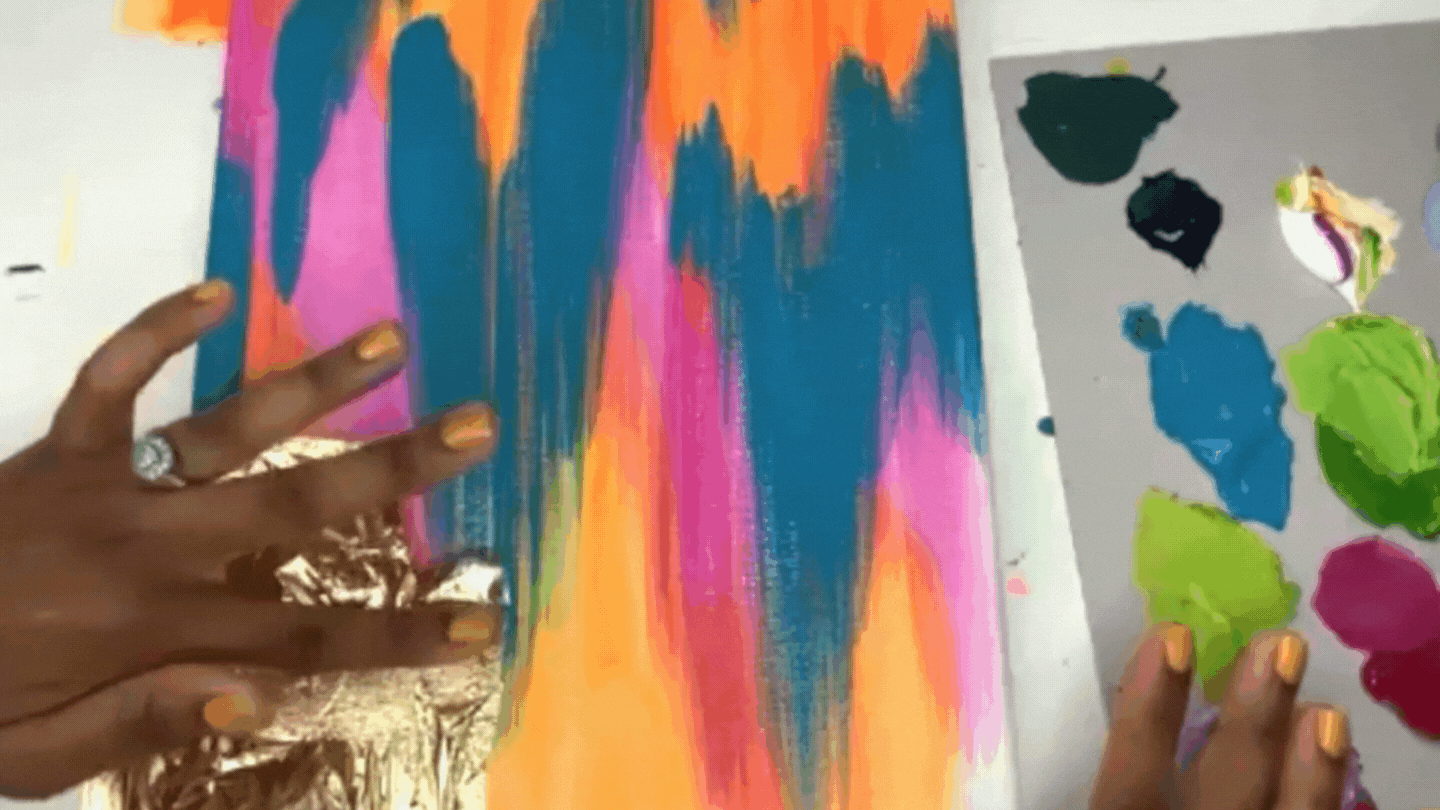
Note that in my example, there is excess gold leaf on the top where there wasn’t any adhesive. This can be easily brushed away once the adhesive is dry. Be careful not to try and brush it away before it’s dry or you’ll create holes in your gold leaf.
Step 4: Add additional gold leaf sheets
Gold leaf comes in fairly small sheets, so chances are you’ll need to add more to fill the entire area. To do this seamlessly, I ever-so-slightly overlap the new sheet with the previous sheet.
Add a tiny bit of adhesive to the area that you want to overlap. This will tarnish the overlapping part of the existing sheet, but it will be covered up so it won’t be a problem!
Then simply lay your next sheet down so it slightly overlaps with the previous sheet.
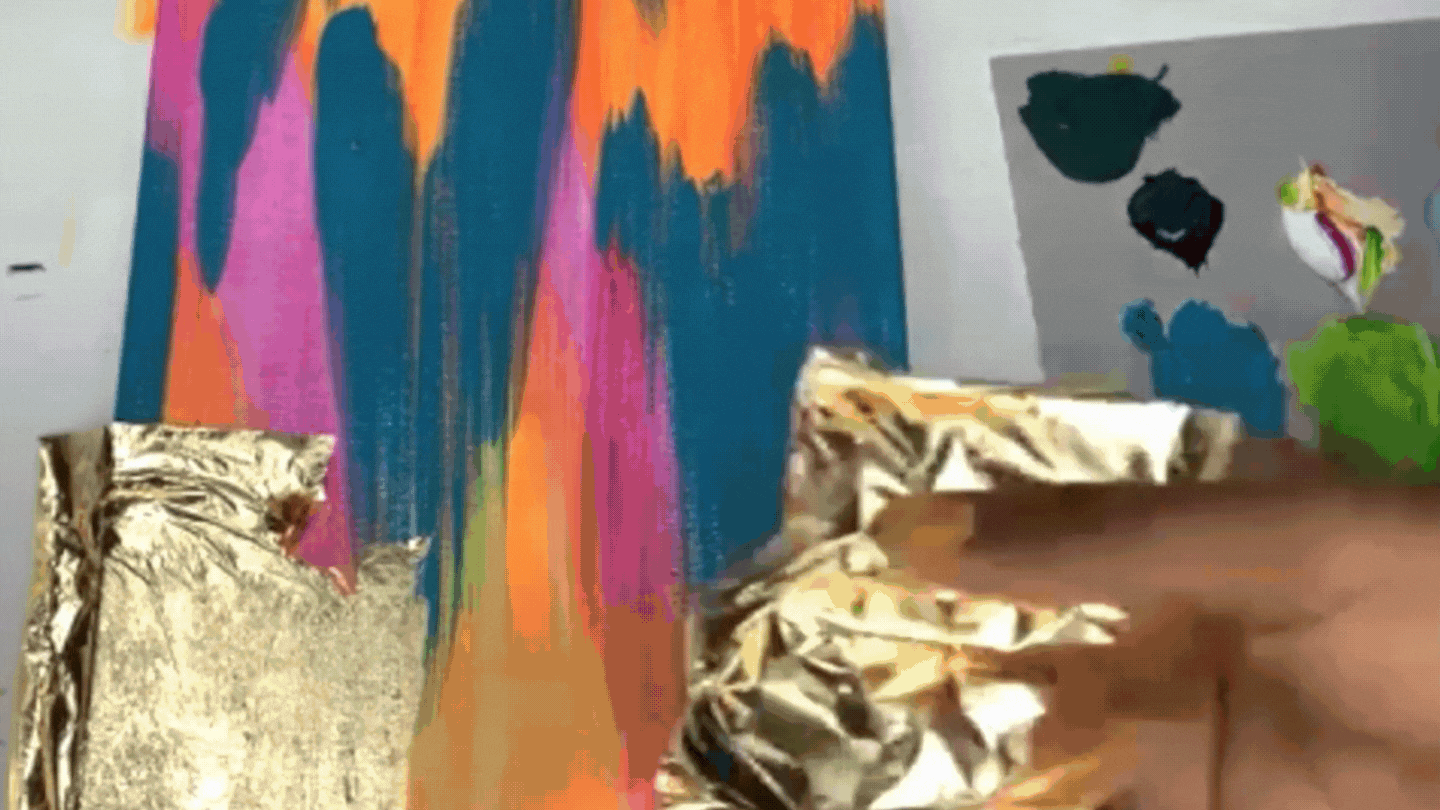
Repeat the patting motion to make sure the new sheet completely sticks to the adhesive. Continue to add as many sheets as needed to complete your piece, and then wait for it all to dry!
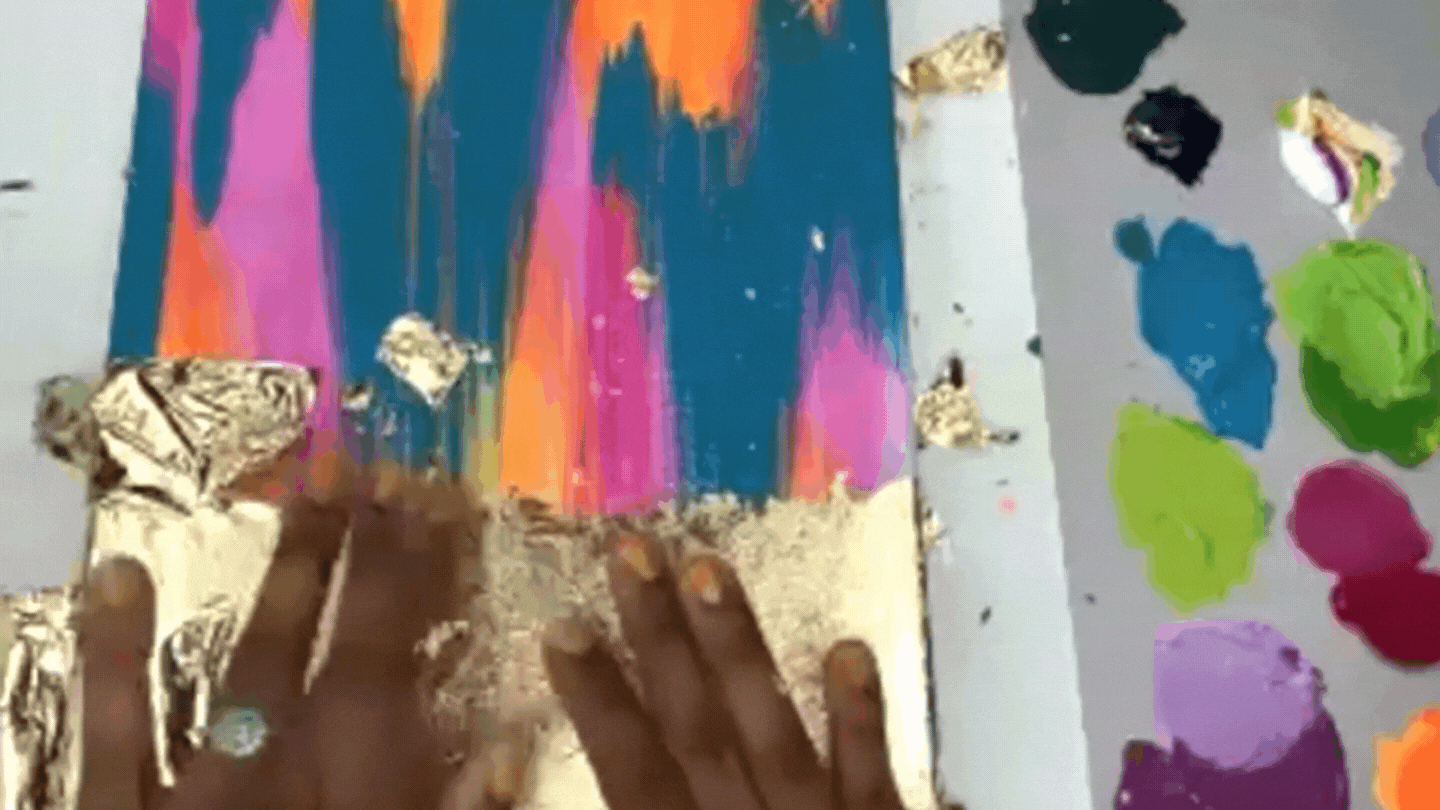
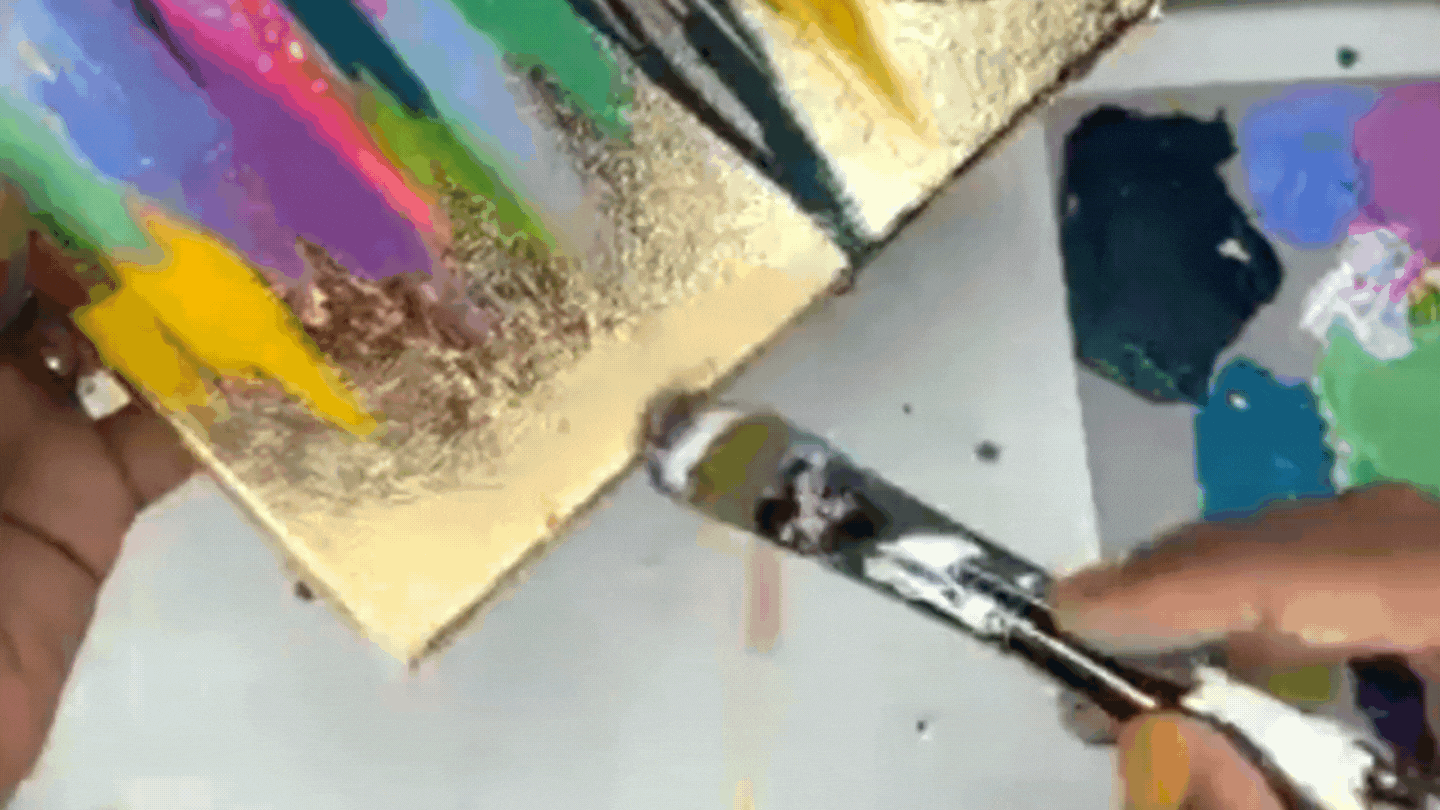
Step 5: Remove the excess gold leaf
Once the gold leaf and adhesive are completely dry, you can start to remove the excess. When everything is dry, simply brush the excess away gently with your finger.
Tip: I keep the extra gold leaf to use in future paintings either for patching up holes or as smaller flakes in a piece!
Step 6: Final details
How to fix holes in gold leaf
If there’s a rip or a hole in your gold leaf, don’t worry! You can easily fix it. Add some adhesive just in the area where there is a hole. You don’t want to add it anywhere else or it will tarnish the gold you’ve laid down. Then take a tiny section of gold leaf and lay it over that area. It doesn’t matter if the gold you’re using to patch the hole is the exact right size, once it dries, you can remove the excess that didn’t stick to the adhesive by simply brushing it away. And once you remove the excess it will look as if the hole was never there!
Tips for painting on top of gold leaf
I love to paint on top of my gold leaf so that it’s fully integrated into my overall composition. In this example, I’m using a brushstroke V shape for my abstract painting, so I want some abstract V’s to drip into the gold leaf.
When you paint on top of your gold leaf you want to make sure that there is no water in your paint. This will help you get smooth coverage and will help you keep the gold leaf intact.

Step 7: Seal the gold leaf
And now you’re almost done! Once you’ve applied your gold leaf and are happy with the final result it’s time to seal it. You’ll want to apply a generous amount of the gold leaf sealant on top of your gold leaf. It’s ok if it overlaps with your paint layers slightly, just try to keep it on the gold as much as possible.
It will look a little cloudy as you apply it, but it will dry clear and you’ll be able to see that beautiful gold shine! This sealant prevents the gold from tarnishing over time so you’re left with a stunning piece that will last!
And with that your gold leaf painting is complete! I would love to see what you’ve made. Share your artwork on Instagram with the hashtag #ArtfulAction so I can look at your gorgeous gold paintings!
And if you want to learn more about how to create an abstract composition like the one I used in this tutorial check out my Skillshare class, Joyful Abstracts, where I walk through my step-by-step process for creating colorful abstract paintings!

Pin this post for later! 📌
Hover or tap on this image and click the “Save” button on the top left!