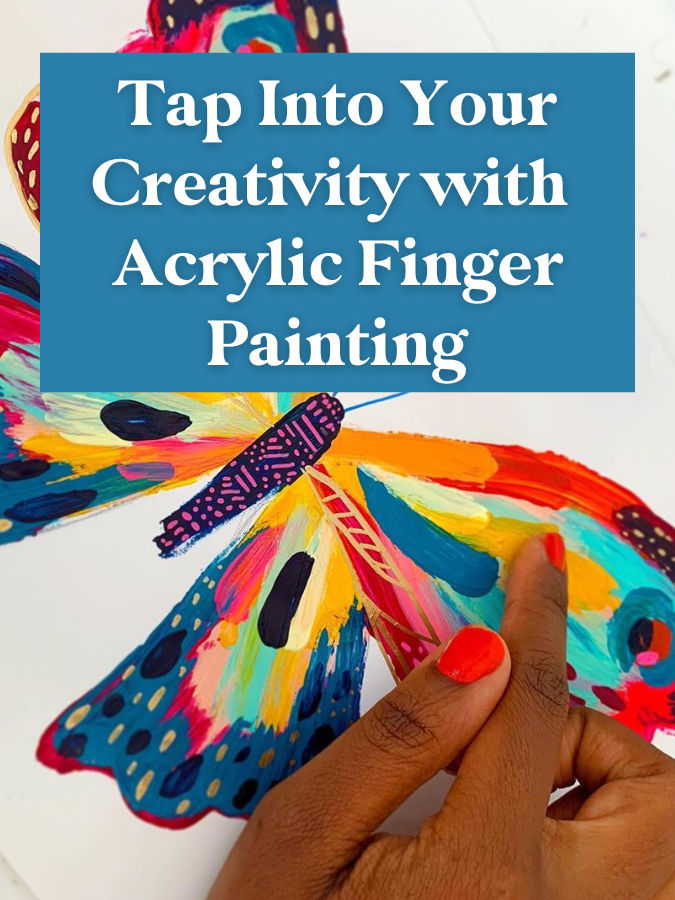
Tap Into Your Creativity with Acrylic Finger Painting
In this tutorial I’ll walk you through one of my favorite ways to tap into creative play - finger painting! When people think of finger painting, they usually picture a kid joyfully smearing paint across a page. But finger painting doesn’t have to be just for kids. This blog post is all about finger painting for adults!
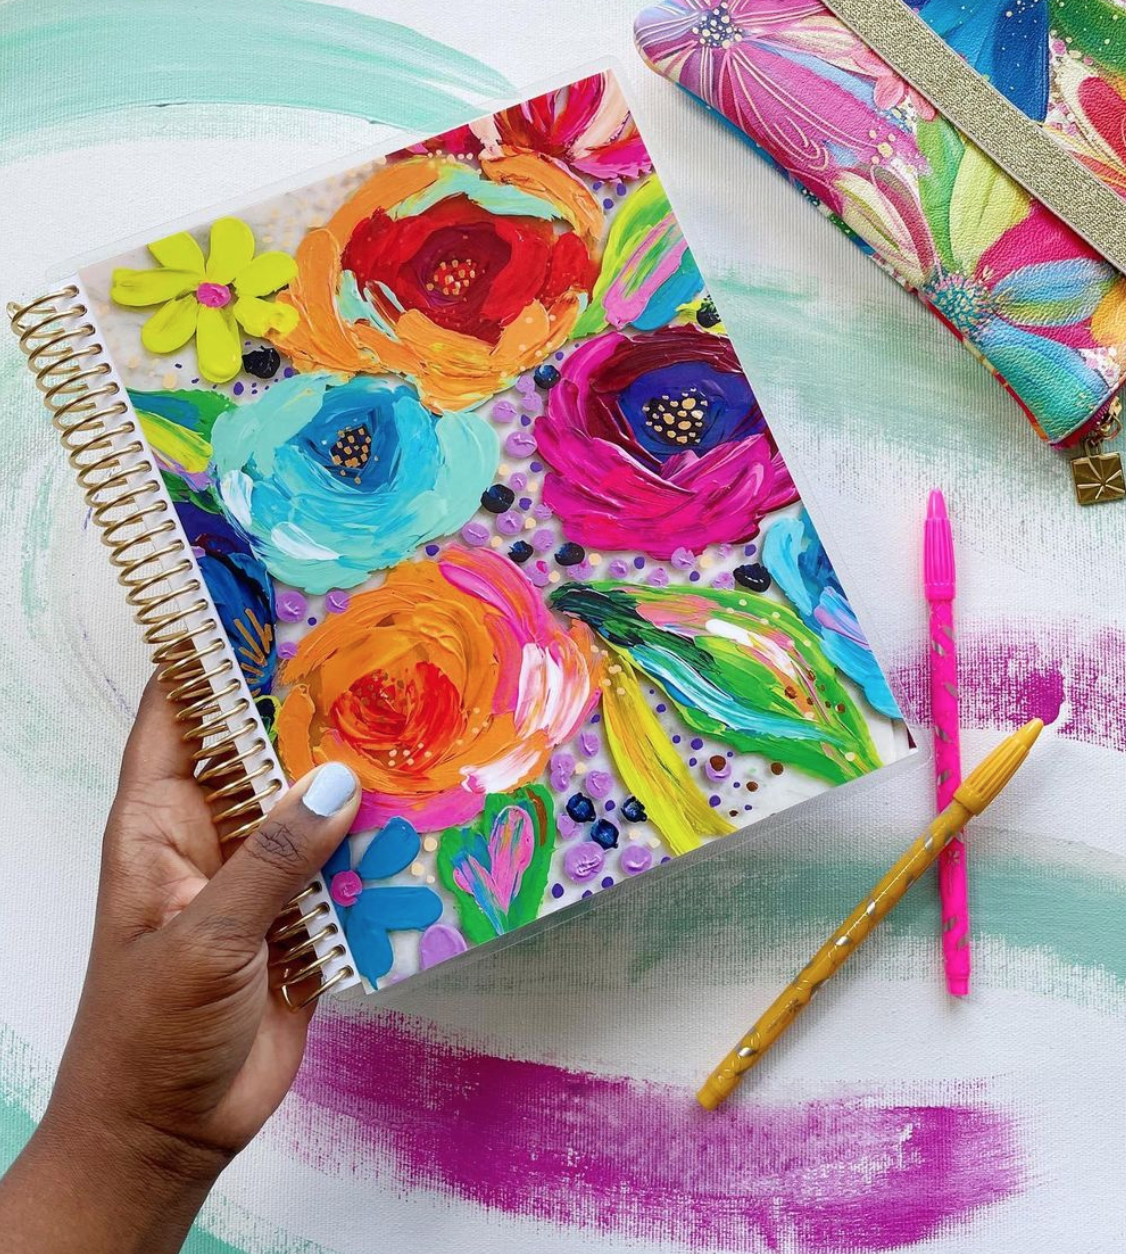
Finger painting is a fun way to explore a new side of your creativity, and it can produce some incredible results. In fact, I use finger painting as a technique in my fine artwork! Some of my finger-painted designs have even ended up on products in my art licensing portfolio. For example, this planner cover was a finger painting and I was so pleased with the texture and dimension that this technique produced!
Whether you want to create a finger-painted masterpiece or simply want to explore a new way to paint, this finger painting tutorial will help you tap into your creativity and play.
Supplies:
Let’s go over what supplies you’ll need for finger painting. I typically paint with heavy body acrylic paints. The Liquitex Basics acrylics are some of my favorites to finger paint with, but you can use whatever you have on hand. You’ll also need a canvas of some kind. This can be an actual canvas, glass, or even just a piece of printer paper. You don’t need anything special to play with finger painting! Lastly, an optional supply is a rubber glove. While I love getting messy and playing with paint, I find that a glove just keeps things a bit tidier. This is all personal preference though, so no need to go out and get a glove if you don’t have one on hand.
And with that, it’s time to start finger painting! Next, I’ll walk through some of my go-to techniques when finger painting
Loosen Up
Start by remembering that this is a fun and playful technique. Don’t worry about getting it perfect! Create a safe container for yourself where you are allowed to explore. Put on some fun music, get excited about picking your paint colors, and tap into the joy and freedom of artistic play!
Composition
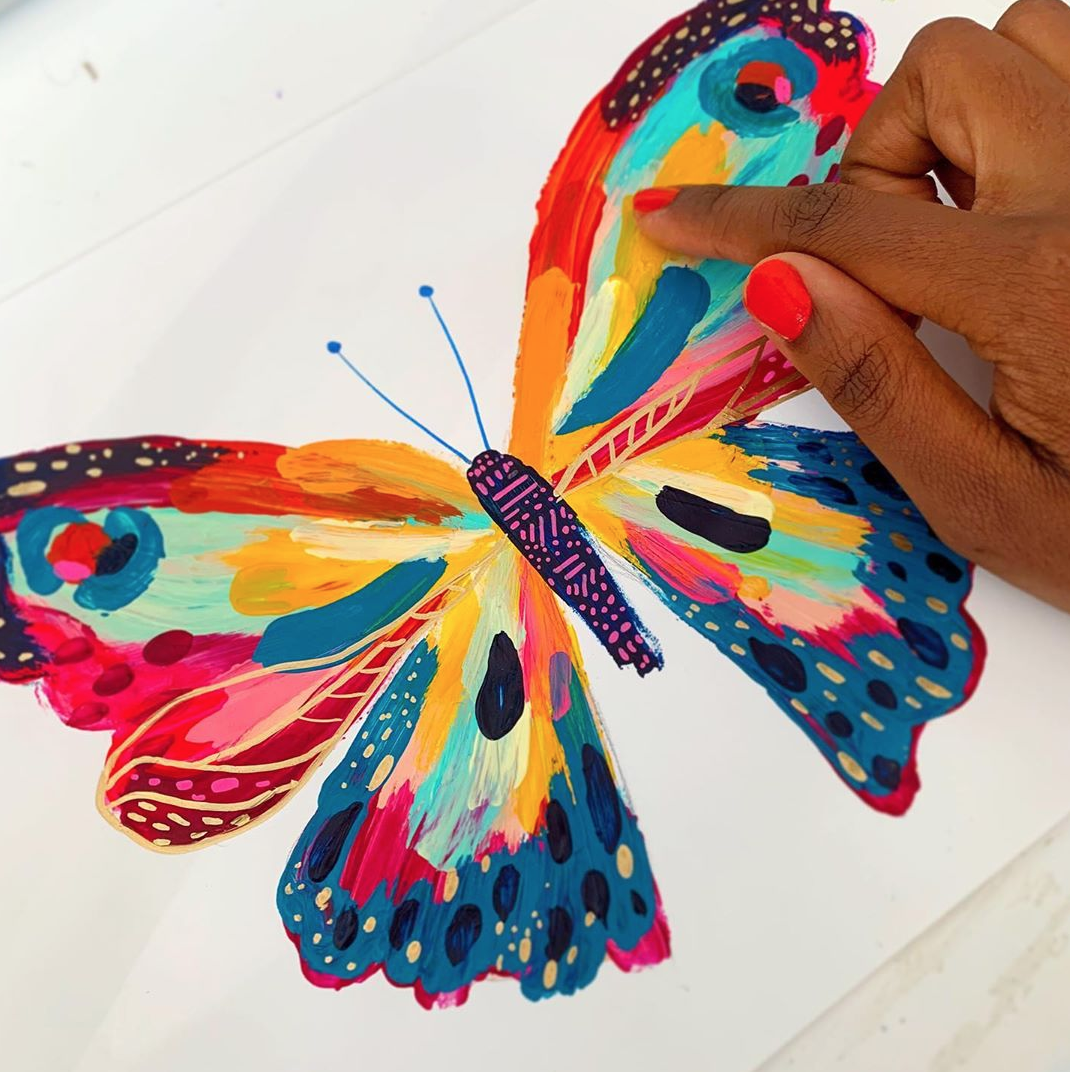
Next up it’s time to think about your composition. Choose something that makes you happy! Some of my go-to motifs are butterflies, flowers, and hearts! You can also go the abstract route with your finger painting. If you want to learn more about planning an abstract composition, check out this blog post!

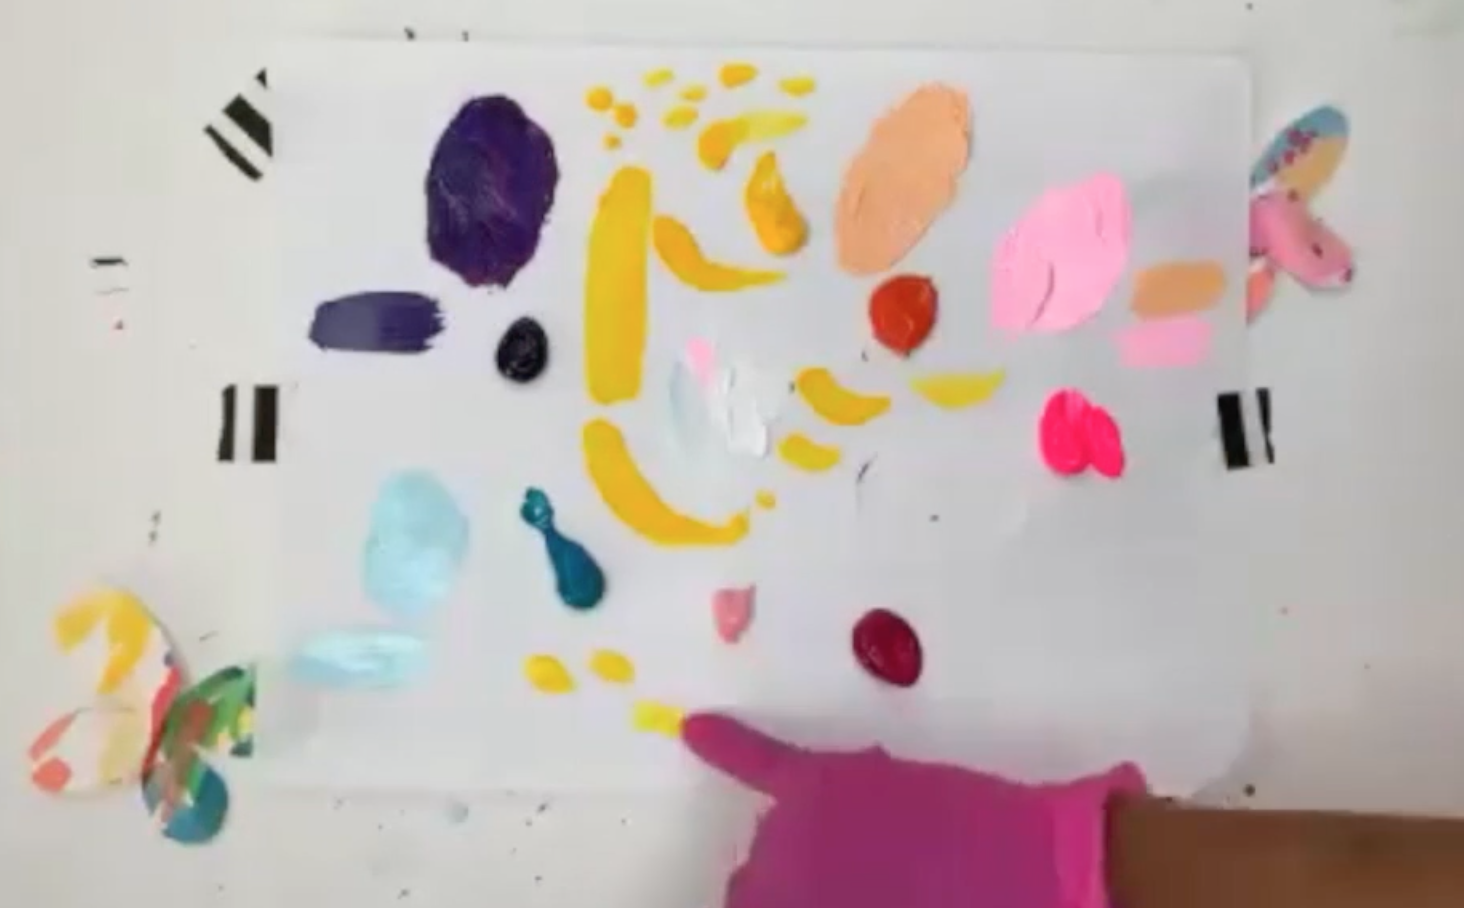
Now that you have your composition or motif chosen, it’s time for my favorite part - color! I love mixing my own colors since I feel that it gives me the freedom to explore the rich vibrant tones I’m looking for. You are also more than welcome to use paint straight out of the tube! This is your painting, so do what feels right for you! If you want some guidance on mixing vibrant colors with acrylic paint, I wrote a whole blog post about it. Check it out here to learn more about vibrant color mixing!
Finger-Painted Brushstrokes
One of the fun parts of playing with finger painting is that it gives you a different brushstroke experience than you get with traditional brushes. I find that using different fingers produces different results. Start by playing around on a scrap piece of paper to see what kinds of marks you can make with different fingers.
Here’s what I’ve found from experimenting with painting with different fingers:
Pointer Finger
When I’m painting the background of a finger painting, I use my pointer finger. It gives me a lot of smooth coverage and I’m able to cover a lot of ground with just a few strokes.

Middle Finger
For my standard brushstrokes, I use my middle finger. I use this for the majority of my painting as I feel that it gives me the most control. I’m able to create varying widths of the stroke and get some really cool effects using this finger.

Pinky Finger
When I’m doing detail work I tend to use my pinky finger. Since it’s a smaller finger it allows me to create smaller brushstrokes or detail work like dots and dashes.

Create Texture
I love the textured look that you can get with finger painting. There are a few things to think about to achieve interesting texture in your finger-painted piece.
One is the “goopiness” of the paint. If you apply thick layers of paint it will create a lot of dimension and texture as it dries. The only downside to thick paint layers is that it takes a long time to dry. If you paint on top of a thick and wet layer it will end up blending and losing some of its thickness. I usually reserve goopy thick strokes for the top layer of my paintings.
Another fun technique to play with is painting wet on wet. This means exactly what it sounds like - painting a second layer on top of an existing layer that’s already wet. This allows your paint to blend together to create more dimension and interesting color blends.
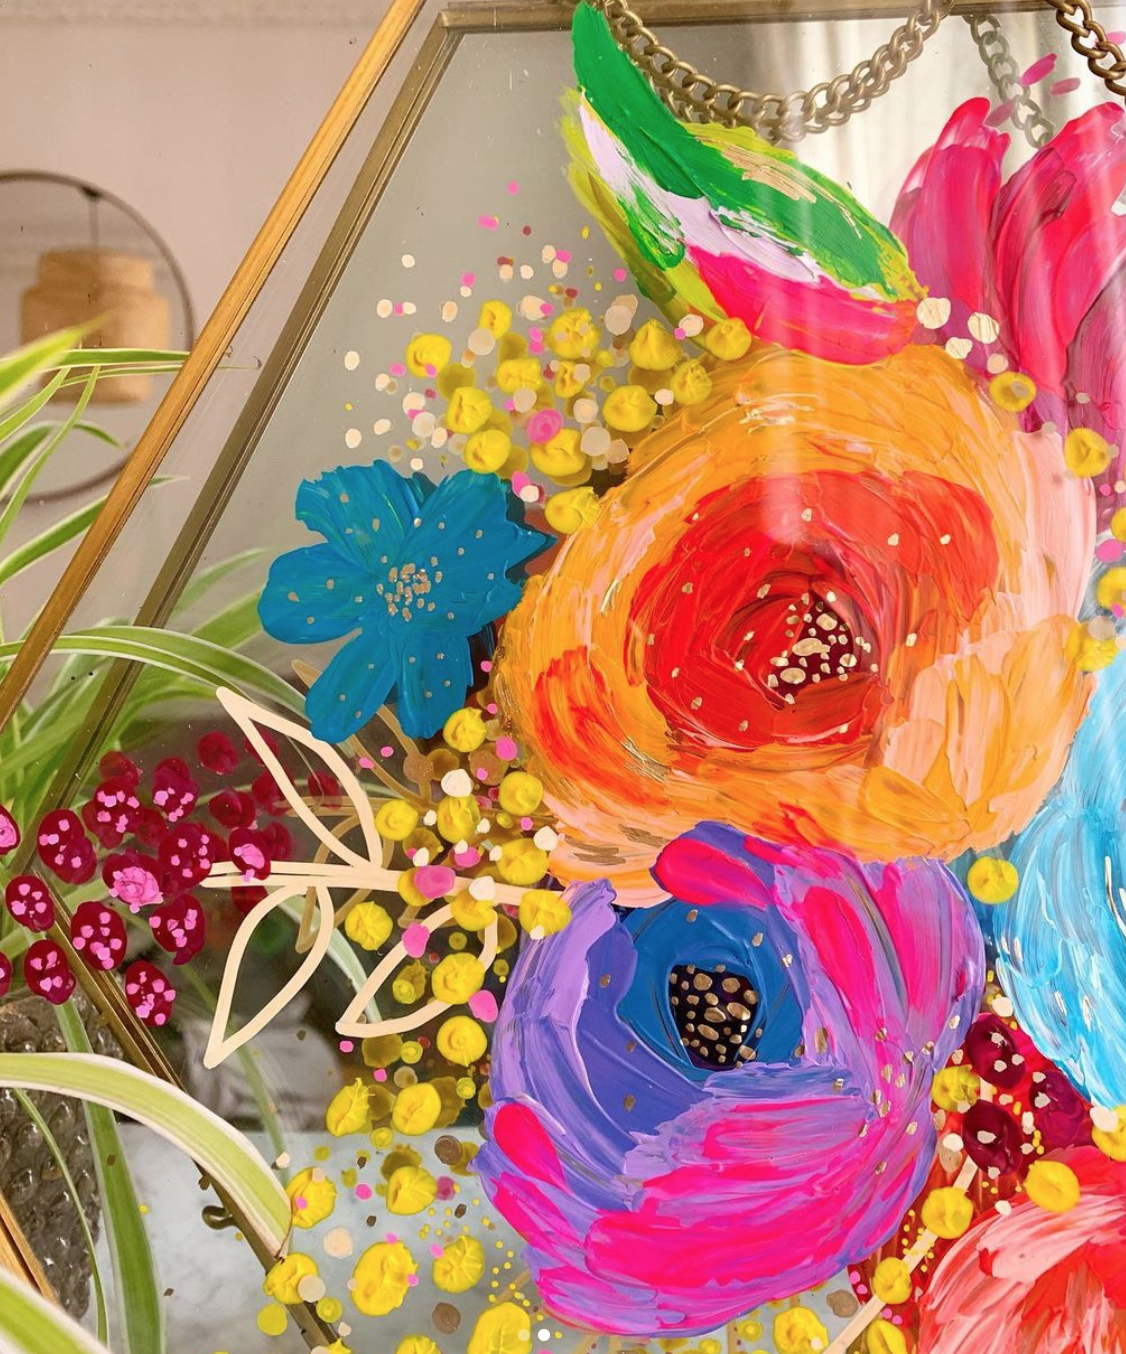
I also like to play with the texture of dots in my finger paintings. If you get a lot of paint on your finger and do a quick dab onto your canvas it will leave a cool textured dot behind! In this detail shot you can see examples of all of those different textures for reference.
Another way to create texture is with the way that you use your fingers to create the brushstroke. Experiment with varying the pressure you use with your finger as you paint. To create a nice “swish” effect I tend to start with heavy pressure and lighten the pressure as I go. I end the stroke with a flick to give it a painterly look.

These are just a few of my favorite techniques for finger painting. At the end of the day, it’s all about exploration and play. Use this as a jumping-off point and let this be a safe space to let your creativity run wild! The biggest goal with finger painting is to have fun. I hope this tutorial will help you dive into creative play and learn to create art in a fun new way!
xo, Jessi
Pin this post for later! 📌
Hover or tap on this image and click the “Save” button on the top left!